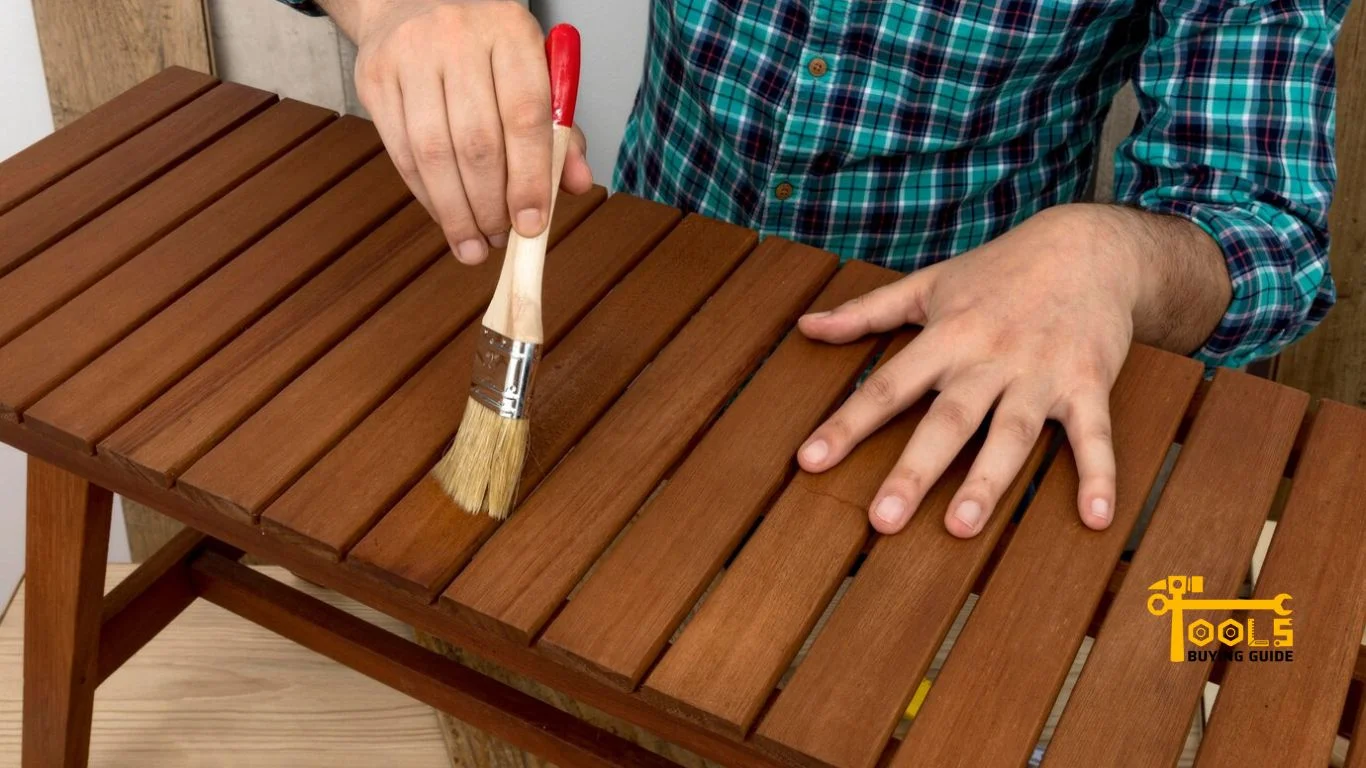
Wood painted with exterior paint can provide a beautiful and long-lasting finish outdoors. To ensure its longevity and protect it from the elements, you must seal the wood with a clear sealer. Doing so can help keep the paint looking vibrant and prevent its breakdown due to moisture. So how to seal painted wood for outdoor use?
To help you out, we’ve created a step-by-step guide for sealing painted wood outdoors. We’ll also provide tips and tricks to make sure your outdoor painted wood stands the test of time.
Read More About How to Clean Paint Brushes
When To Seal Painted Wood?
The first step in effectively sealing painted wood is determining the best time to do so.
The conditions of your wood and your climate are two major factors to consider. The ideal time for sealing is when temperatures are between 50-85°F (10-30°C) with low humidity. This will make sure the sealer cures properly, creating an even layer over your painted wood.
In terms of the wood’s condition, you should wait until it has been properly cleaned and dried. It should also be free from dust, debris, dirt, or any other matter affecting its adherence to the sealer.
If sealing is done too soon, moisture can become trapped beneath the sealer layer before the paint is completely dry. This can cause the paint to blister, bubble, and peel prematurely.
Finally, you should only seal the wood after it has been painted with exterior-grade paint. Non-exterior grade paints may not be able to withstand extreme temperatures and moisture., so sealing would be a waste of time and money.
When Not To Seal Painted Wood?
The key to successfully sealing painted wood outdoors is knowing when not to do so.
For instance, if you live in an area with high humidity, outdoor paint sealer may take too long to dry or cure. This can make the sealer patchy, uneven, and less effective at protecting the paint from moisture.
If you’re looking to seal a piece of painted wood that is already weathered, then it may not be necessary. The weathering process could have already enhanced its protection against moisture and UV rays.
On the other hand, if you’re sealing a freshly-painted piece of wood, then you should avoid using a sealer that contains wax. This sealer could make the painted surface slippery and unsafe to walk on.
Finally, avoid using a glossy sealer if you want to seal textured wood. A sealer with a matte finish will allow the texture of the wood to shine through without making it too shiny or reflective.
Step-by-Step Guide To Sealing Painted Wood Outdoors
Now that you know when to seal painted wood and when not to, let’s get into the step-by-step guide on how to make painted wood waterproofing.
Step 1: Preparing the surface
The first step in sealing painted wood outdoors is to prepare the surface. Start by cleaning the wood with a water hose or pressure washer. This will help remove dirt, dust, debris, and other matter that could interfere with the sealer’s adhesion.
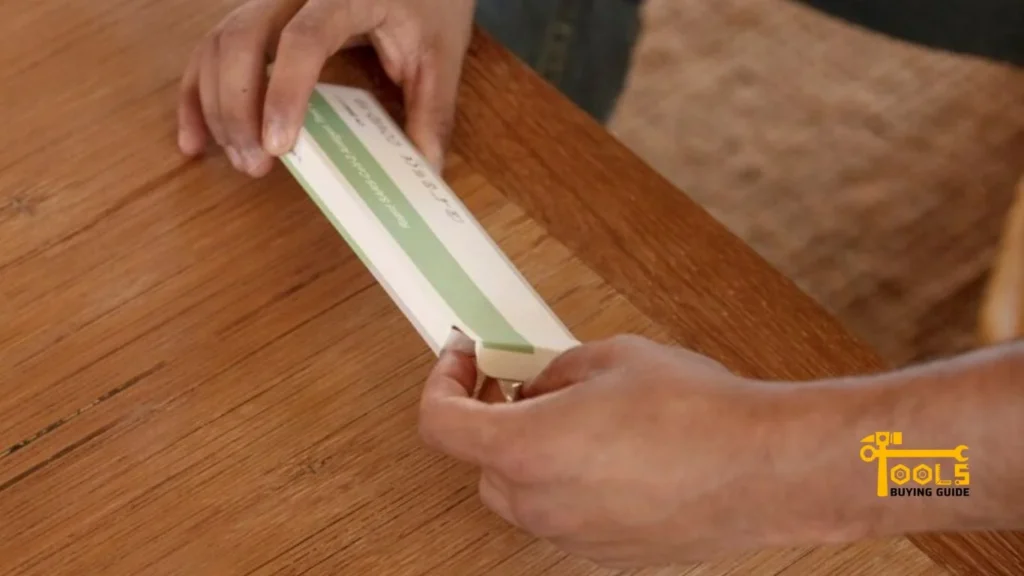
Use a scrub brush or sponge to remove stubborn dirt and mildew. Then, use a clean cloth or towel to dry the wood completely before moving on to the next step.
Step 2: Cleaning the wood before painting
The next step is cleaning the wood before you paint wood sealer. This is essential for ensuring the paint adheres properly to the wood and won’t peel off in the future.
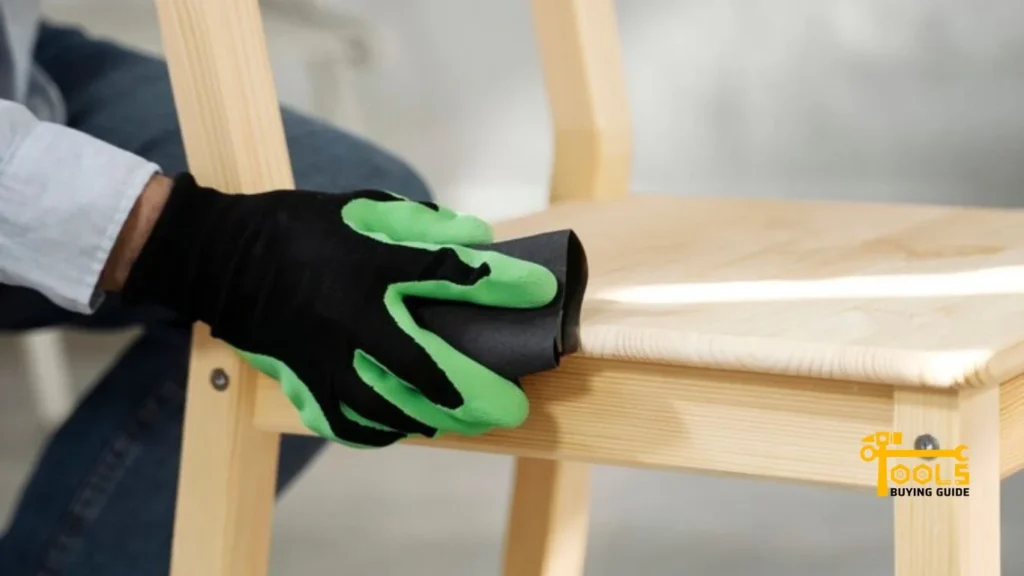
Start using a brush or cloth to remove old paint or debris from the surface. If you have access to a pressure washer, use it on high settings to get rid of stubborn dirt and debris.
Once you’re done, use a clean cloth or towel to dry the wood completely before moving on to the next step.
Step 3: Applying the paint
The third step in sealing painted wood outdoors is applying the paint.
When you’re ready to start painting, make sure you have the right tools for the job. Invest in high-quality brushes and rollers that are easy to clean – it’ll save you time and effort down the line. You may also want to use a sprayer if you need a large area covered quickly.
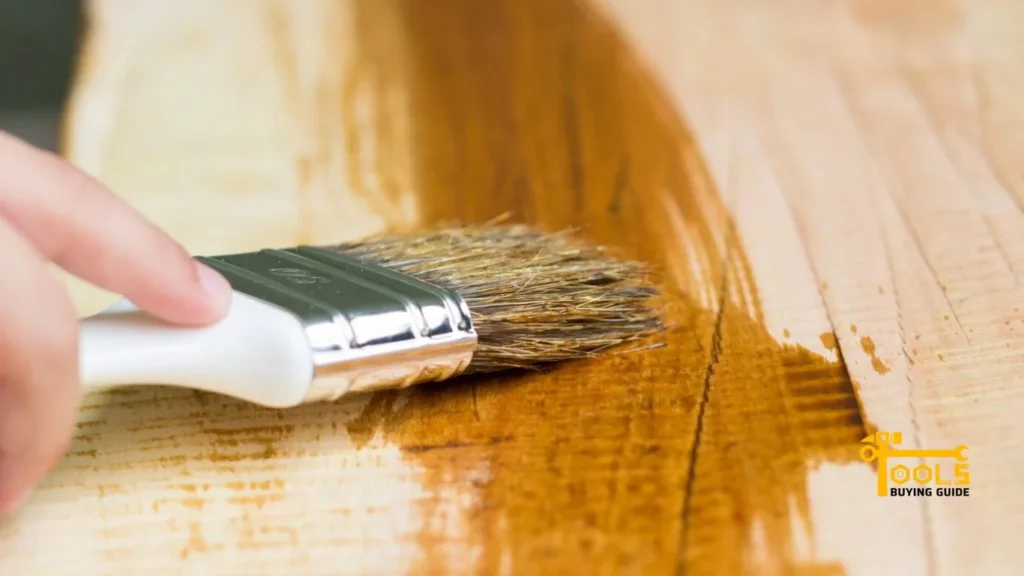
Then it’s time to get started. Start by painting in thin strokes, using a slight ‘W’ pattern or zig-zag motion to ensure each section is fully covered. This will help the paint lay evenly and reduce streaks.
Step 4: Let the coats dry thoroughly
Once you’re done painting, the fourth step is to let the coats dry thoroughly before sealing. This will ensure no moisture is left on the surface, which could interfere with the sealer’s adhesion.
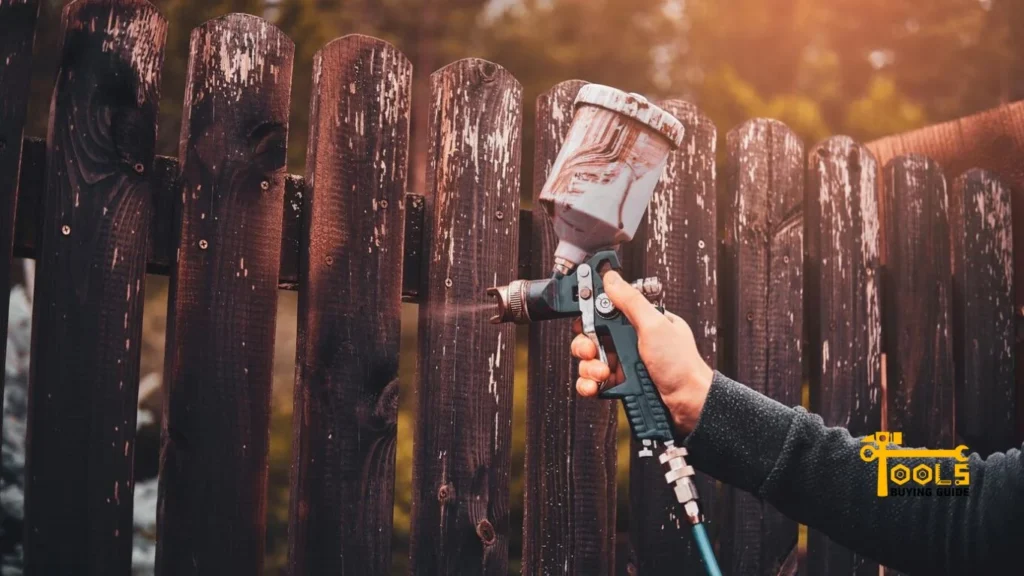
Depending on how thick or thin your coats were and how much paint was used, this process can take anywhere from a few hours to several days. You should wait until the paint feels completely dry to the touch before moving on to the next step.
Step 5: Sealing the painted wood
Now it’s time to seal the painted wood. Start by preparing the paint sealer for wood. This usually involves diluting it with a solvent such as paint thinner or mineral spirits. Then, use a brush or roller to apply the sealer in thin coats, covering every part of the wood.
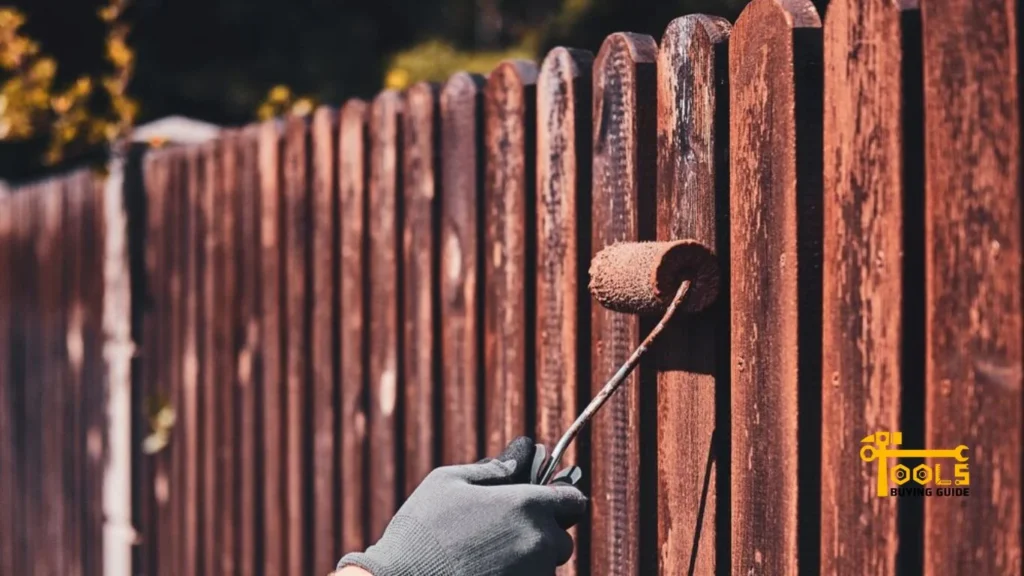
Allow the sealer to dry completely between coats, and never use too much, as this can cause the sealer to flake off in the future. Once you’re done, check for any areas that may have been missed, and apply a second coat if needed.
You should now have an even layer of sealer protecting your painted wood from damage.
Step 6: Caring for painted wood outdoors
Now that you’ve sealed the painted wood, there are a few steps you can take to ensure it stays in great condition for years to come.
The first thing is to make sure you keep up with regular maintenance and cleaning. This will help keep the wood looking its best and protect it from moisture, UV rays, mildew, and other contaminants.
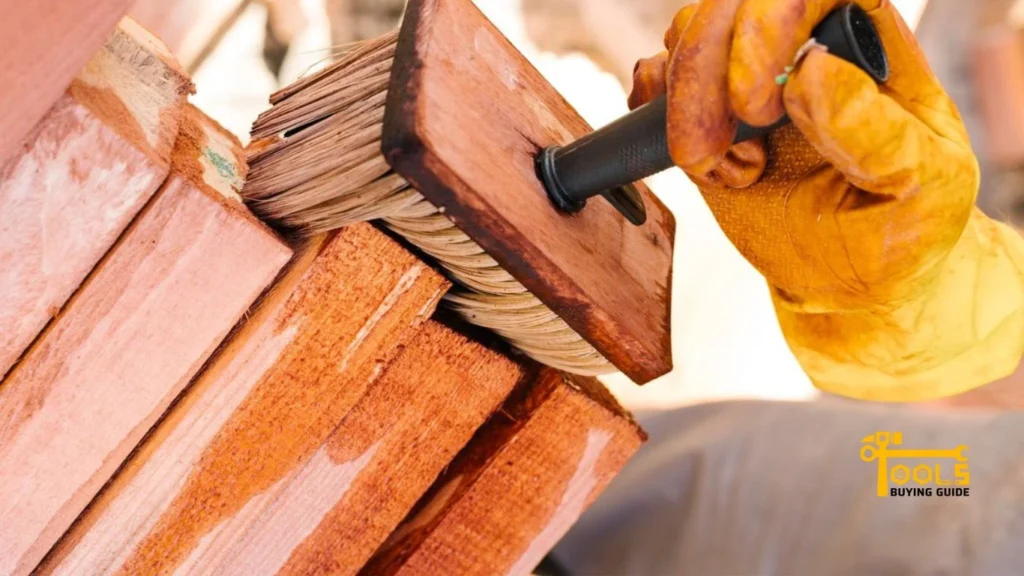
For extra protection against UV damage, you may invest in a specific sealer designed to reflect sunlight away from the wood surface. And don’t forget to re-seal when necessary – usually every two or three years.
By following these steps and tips, you’ll be able to enjoy your painted wood outdoors for many years.
Also Read Best Paint Sprayer for Furniture
Tips for Sealing Painted Wood For Outdoor Use
Now that you know how to seal painted wood outdoors, remember a few tips.
Use an appropriate sealer
The key to a successful seal is choosing the best sealer for painted wood. Make sure you get one that is specifically designed for outdoor use. The slippery texture of a sealer designed for indoor use can make the surface slippery and dangerous to walk on.
Look for a sealer with UV protection, which will help protect the paint from fading in direct sunlight. And if you’re looking to extend the life of painted wood outdoors, look for a sealer that contains mildewcides or fungicides to help prevent mildew and other fungal growths.
Don’t forget to use primer and paint
Using a primer and paint before you seal is essential for ensuring the painted wood looks its best and lasts longer. A primer will help the paint adhere better, while premium paints provide better coverage. The best paints for outdoor wood surfaces are usually oil-based or latex – just make sure you choose one designed for exterior use.
The key is ensuring all coats are applied properly and given enough time to dry between coats.
Let the wood dry completely before sealing
Before you start sealing, make sure that the wood is completely dry. If not, the sealer won’t adhere properly and could start to flake off in the future.
The best way to test if the wood is dry enough for sealing is by checking its moisture content using a moisture meter or similar device. This will alert you to any hidden moisture in the wood, so you can dry it before proceeding.
Apply thin coats of sealer
When applying the sealer, use thin coats and allow each coat to dry fully before adding another layer. One thick coat is not enough; multiple thin coats provide better coverage and protection.
You may also want an edging tool or brush between coats to help the sealer get into small crevices. This will help make sure all areas are properly sealed.
You may read also Best Cordless Nail Gun for Hardie Siding
Keep up with regular maintenance and cleaning
Finally, don’t forget to keep up with regular maintenance and cleaning. This will help extend the life of your painted wood outdoors.
Keep an eye out for any wear or discoloration due to UV exposure, and re-seal if necessary. Regularly clean the wood with a mild detergent or soap solution to remove dirt or debris.
By following these tips, you can help ensure your painted wood outdoors looks its best for many years to come.
Frequently Asked Questions
A simple coat of acrylic sealer should do the trick. But if you’re looking for a longer-lasting option, try applying paint with a waterproof base and top coat. For extra protection against rain, use an outdoor varnish or polyurethane sealer.
The best way to protect your outdoor painted wood is to use a waterproofing sealant. This will protect the paint from moisture and UV rays while protecting against cracking and fading.
The most effective way to permanently waterproof wood is to use a marine-grade epoxy sealant. This type of sealant will fill the gaps and pores between wood fibers, creating an impenetrable barrier against moisture and other forms of weathering.
The best way to seal painted wood is to apply a coat of acrylic or polyurethane sealer. Apply the sealer in multiple thin coats to ensure complete coverage.
No, acrylic paint is not rainproof. However, adding a sealant layer on top can make it more water-resistant. This will help to protect the painted surface from moisture and UV rays.
Conclusion
So, there you have it. Quick and easy instructions on how to seal painted wood for outdoor use.
Things to remember:
- Paint your wood first, or apply a sealant paint for wood to protect it from the elements.
- Make sure to choose the sealant for painted wood for the job and apply it correctly.
- Test your sealant before use to ensure it’s up to the task.
- Keep an eye on your outdoor wood to ensure it’s holding up to the elements.
- If you’re ever in doubt, call a professional to get the job done right!
Now that you know how to seal painted wood for outdoor use, why not implement your newfound knowledge? Get out there and start making things look beautiful! Whether it’s painting an old fence or giving your deck a facelift, you’ve got this.
Happy Painting.


