In today’s modern world, a drill is an essential tool for any DIY enthusiast or professional. Whether drilling pilot holes for screws or making large holes for pipes, a drill can make the job easier. However, you can’t just start drilling away without knowing how to change a drill bit first.
If you’re a beginner, don’t worry. This article will teach you to become a drill master in no time. If you’re an experienced handyman, brushing up on the basics never hurts. Let’s get started.
What are the Different Types of drill bits?
Before you can change a drill bit, you need to know the types of bits available and what materials they are designed to work with. Here’s a quick rundown of the different types:
Twist Drill Bits
Twist drill bits are the most common bit type and come in different sizes, shapes, and materials. They’re mainly used for drilling into wood, plastic, and metals like aluminum. The shape of the twist drill bits has a spiral grooved pattern that helps to remove material from the hole. They are usually available in sizes ranging from 1/16″ to 1″.
Masonry Drill Bits
Masonry drill bits are designed to drill into masonry materials like concrete, brick, and stone. They have a distinct design with a carbide tip and fluted edges. This helps keep the bit from getting stuck in the material. Masonry bits can also be used to drill into softer materials like wood and plastic.
Step Drill Drill Bits
Step drill bits are used for drilling holes in sheet metal, aluminum, and plastic. They have two or three stepped edges, which gradually increase in size as you go down the shaft. They are great for making precise holes and often come in sizes ranging from 1/4″ to 1″. This type of bit is also referred to as a “unibit” or a “multi-step drill bit.”.
Multi-Material Drill Bits
Multi-material drill bits are made to work with a variety of materials, such as hardwood, softwood, masonry materials, and metal. They often have a pointed carbide tip and a multi-step design, which allows the bit to work with different materials. They come in various sizes and shapes, depending on the material you’re drilling into. You can find multi-material bits in sizes ranging from 1/16″ to 3/4″.
How do I change a drill bit?
Now that you know the different types of drill bits, it’s time to learn how to change them. Here are a few steps to get you started:
Unplug the drill
Safety should always come first when working with tools. Always ensure the drill is unplugged before attempting to change the bit. This will help you avoid any potential electric shocks.
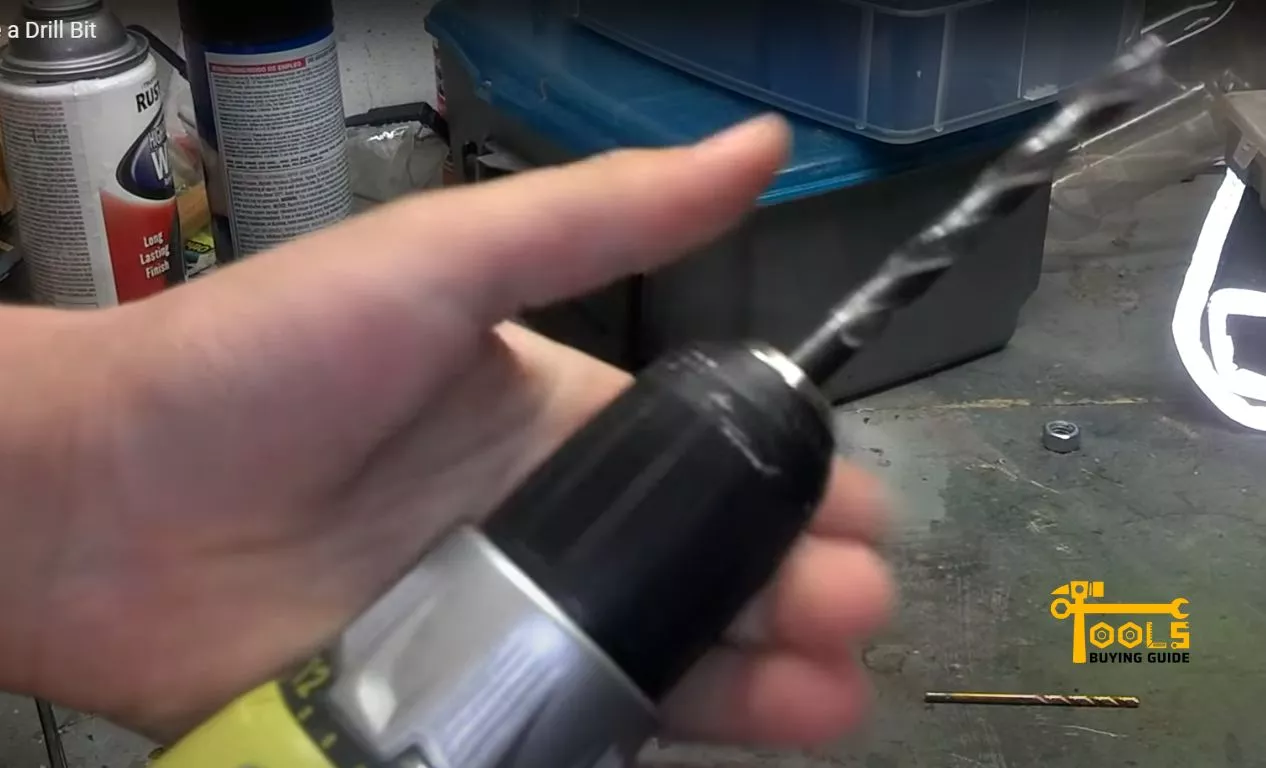
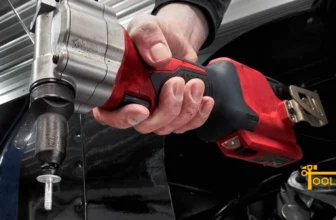
Remove the chuck
The chuck is the cylindrical part of the drill that holds the bit in place. To remove it, you need to loosen the chuck by turning it counterclockwise with a pair of pliers or a drill-bit wrench. Once the chuck is loose, you can easily remove it from the drill body. Hands-free tools are also available for more efficient chuck removal.
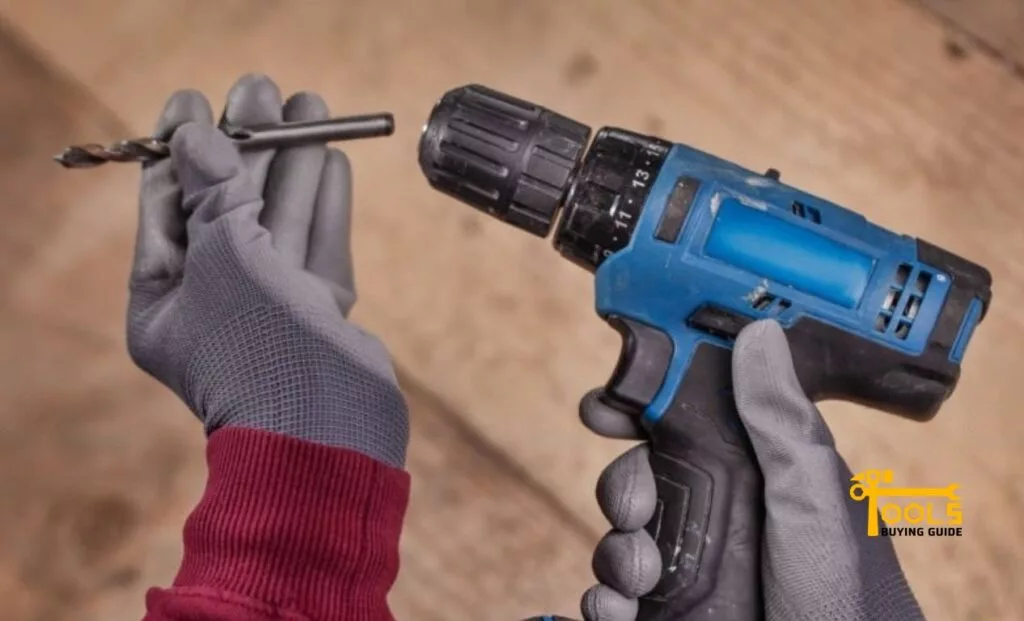
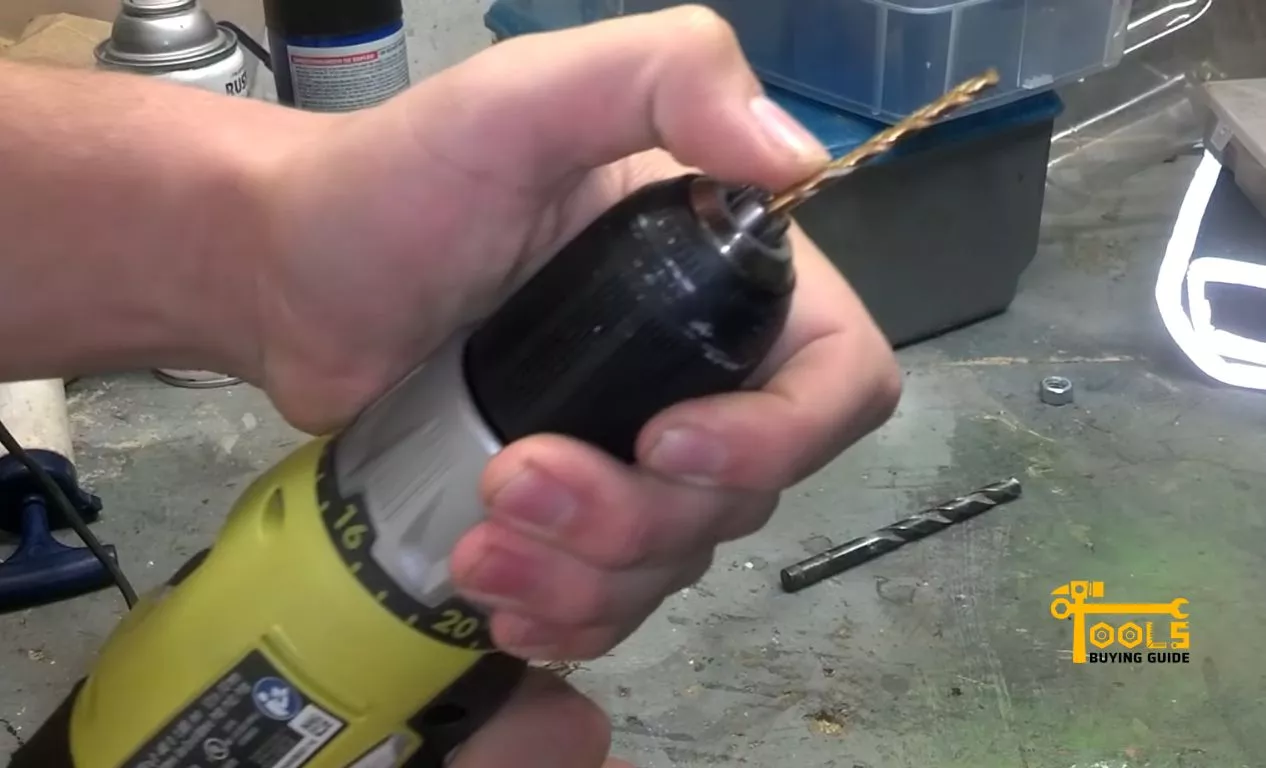
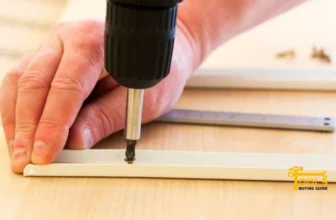
Select and insert a compatible bit
Once the chuck is removed, select the bit compatible with your material and project. Make sure to choose the right size for the job. Then, insert the bit into the chuck and make sure it is securely seated. This will ensure the bit won’t slip out while you’re drilling.
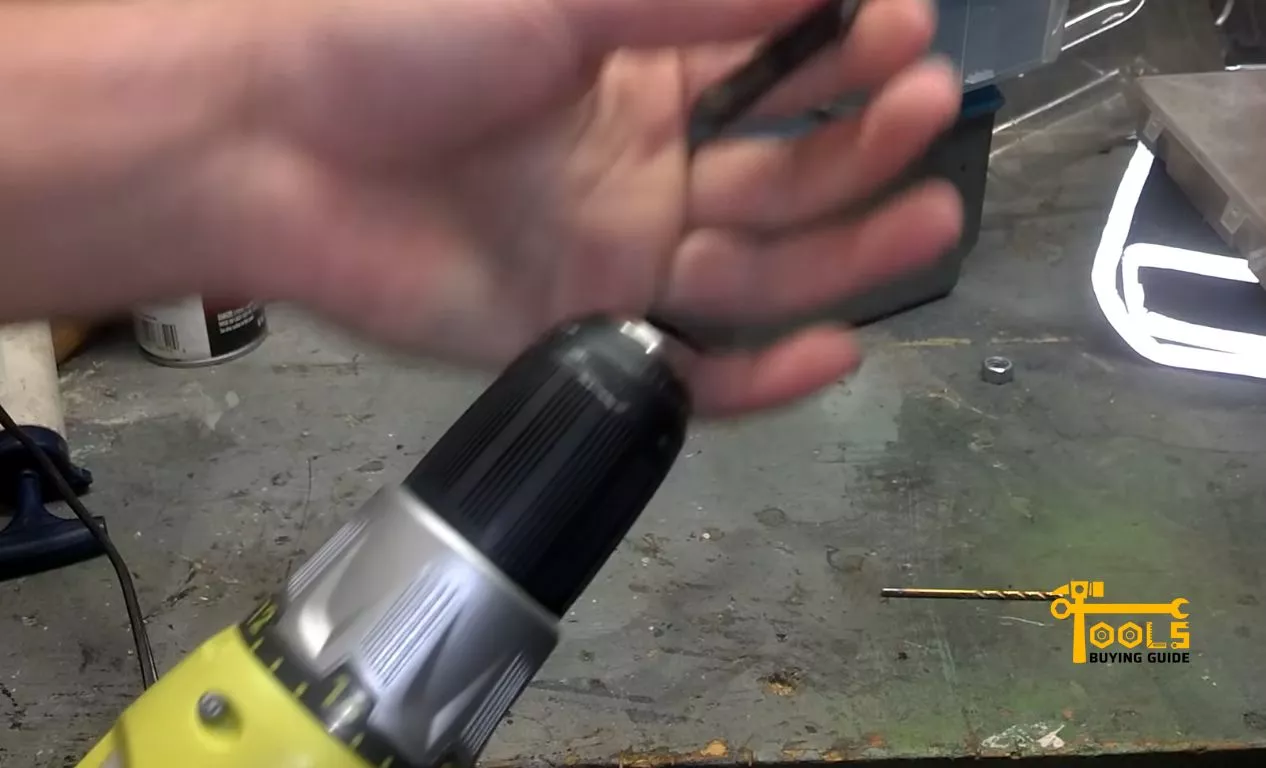
Securely tighten the chuck
To securely fasten the bit, you need to tighten the chuck. This can be done by turning it clockwise with a drill-bit wrench. Make sure to tighten it as much as possible without overtightening, which can damage the bit and the chuck. Some drills come with a keyless chuck, which can be tightened by hand.
Tips for Changing Drill Bits
If you’re new to changing drill bits, here are a few additional tips to keep in mind:
Choose the right bit for the job
Always make sure to choose the right bit for your material and project. This will help you achieve the best results. For example, if you are drilling into metal, use a twist drill bit instead of a masonry bit.
The size of the bit is also important. If the hole needs to be precise, use a smaller bit and gradually increase its size until it fits your project. Projects like drilling into metal need sturdy bits. For more delicate tasks, like drilling into plastic or wood, use smaller and more flexible bits.
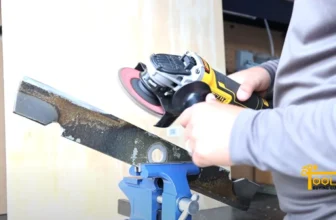
Use the right tools
The tools you use to tighten and loosen chucks are just as important. Make sure to use the
correct size wrench or key, as using a tool that is too big or small can damage the chuck and bit. To protect your tools, use a light lubricant when loosening and tightening the chuck.
Wear eye protection
Safety is the most important aspect of working with drill bits. Always wear protective eyewear when drilling to protect your eyes from flying particles. Other safety measures include wearing gloves and keeping your work area clean.
Clean and lubricate bits
To ensure your drill bits last longer, clean and lubricate them before and after each use. This will help keep them sharper and prevent rusting. It’s also a good idea to inspect each bit for wear and tear before using it.
Now that you’ve got the basics down, you can feel confident when changing drill bits.
What to Do After Changing Your Drill Bit?
Once you’ve changed your drill bit, there are a few steps to take to make sure everything is in order.
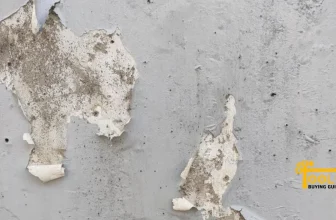
Check the bit for visible damage
Inspect the bit for any visible damage or signs of wear, such as chips, nicks, discoloration, and burring. If you find any damage, it’s best to replace the bit before using it.
Make sure the chuck is tightened
After changing your bit, make sure to tighten the chuck. This will help prevent the bit from slipping while drilling. A good rule of thumb is to tighten the chuck just enough so it won’t slip when drilling, but not too tight, as this could cause damage to the bit.
Test the bit
Before using a new or sharpened bit, test it on a scrap piece of material. This will help you get a feel for the bit and make sure it’s working properly.
Store bits securely
Finally, store your drill bits in a secure, dry location. This will help protect them from moisture and dust, ensuring they last longer.
Following these tips will help you get the most out of your drill bits and prevent unnecessary damage.
Frequently Asked Questions
The three methods of drilling are percussion drilling, rotary drilling, and diamond core drilling. Percussion drilling involves using a chisel-like tool to create small holes in the ground. Rotary drilling involves using a rotating bit to drill into the ground. Finally, diamond core drilling uses diamond-tipped bits to cut into the ground.
To loosen and tighten a drill, you’ll need to use an adjustable wrench or a drill chuck key. Place the wrench on the chuck’s square head and turn it counterclockwise to loosen the chuck. To tighten the chuck, turn the wrench clockwise. Be sure not to over-tighten the drill, as this can cause damage.
Yes, there are two main types of drills: corded and cordless. Corded drills are powered by electricity and require a power outlet to operate. Cordless drills are powered by a rechargeable battery and provide more portability and flexibility when drilling.
The steps of drilling typically involve selecting the right drill bit, setting the speed and torque, drilling a pilot hole if needed, adjusting the pressure and feed rate of the drill, drilling at an angle if necessary, removing the bit from the material when finished, and cleaning up the material and debris from the drilling area.
When drilling screws, you’ll want to use a cordless drill with a clutch setting. Set the clutch to the maximum torque rating for the screw size, and make sure the drill is in reverse to avoid damaging the material. To ensure accuracy, you may also want to drill a pilot hole before driving in the screw.
Conclusion
Now that you know how to change a drill bit, there’s no limit to what DIY projects you can take on. Whether hanging up a shelf or putting together furniture, having the right drill bit will make all the difference. So don’t be afraid to take on those big projects and have some fun with them.
With the right tools and a little know-how, you can tackle anything. Just make sure to always wear safety glasses and use the right type of bit for your material.


[…] you a DIY enthusiast or someone who frequently works with power tools? If so, knowing how to change a drill bit is an essential skill that can save you time and frustration. Whether you’re looking to […]
[…] chuck is the part of your drill that holds the drill bit in place. Several types of chucks are available, and the right one for your needs depends on what […]