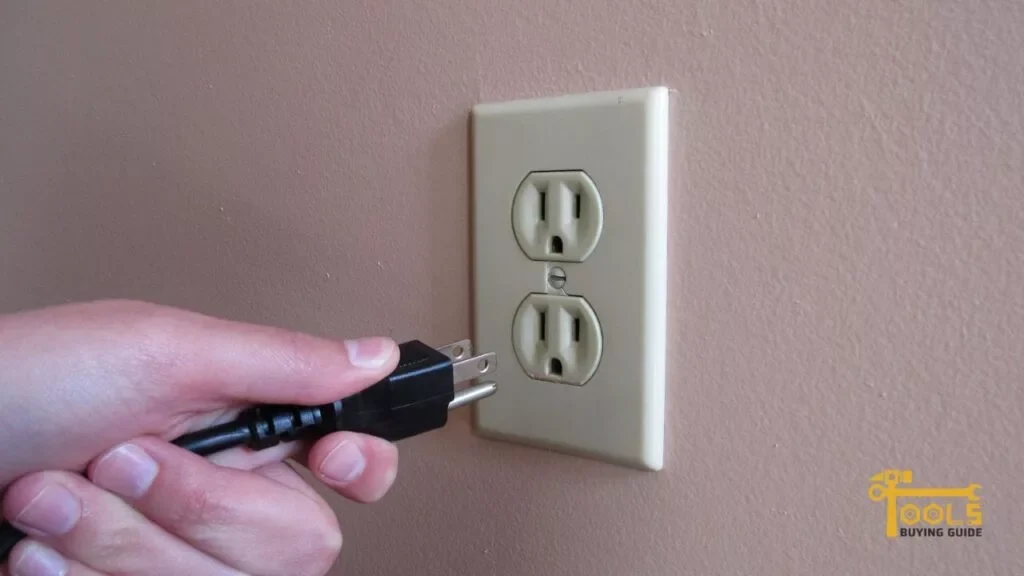
Have you ever wondered how a wall outlet works and what components it consists of? A wall outlet, also known as a receptacle, is a device that allows electrical appliances and devices to be plugged in and receive power.
That typically consists of three main components: the outlet cover plate, the electrical box, and the receptacle itself. The cover plate is the visible part of the outlet that sits flush against the wall and covers the electrical box.
The electrical box is a metal or plastic enclosure that houses the wires and serves as a mounting point for the outlet. The receptacle is the actual electrical component that conducts electricity and has slots to accept the prongs of a plug.
Understanding the basic components of a wall outlet is important when it comes to testing its functionality with a multimeter.
Preparing for Testing: Tools and Equipment Required
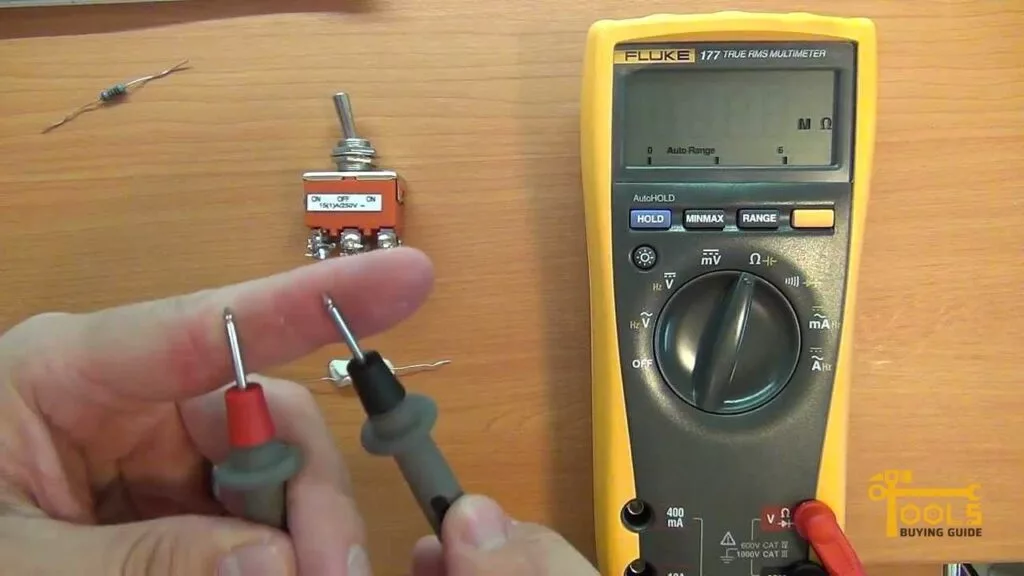
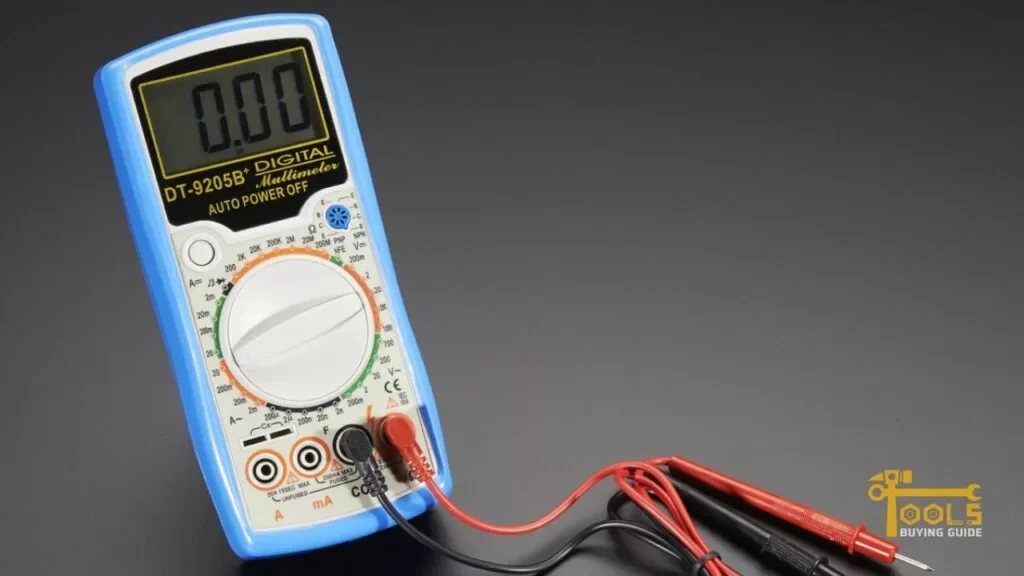
Before testing a wall outlet with a multimeter, it is essential to gather the necessary tools and equipment. The primary tool needed for this task is a digital multimeter, which can measure voltage, current, and resistance.
Recommendation: Best Tool for Digging in Clay

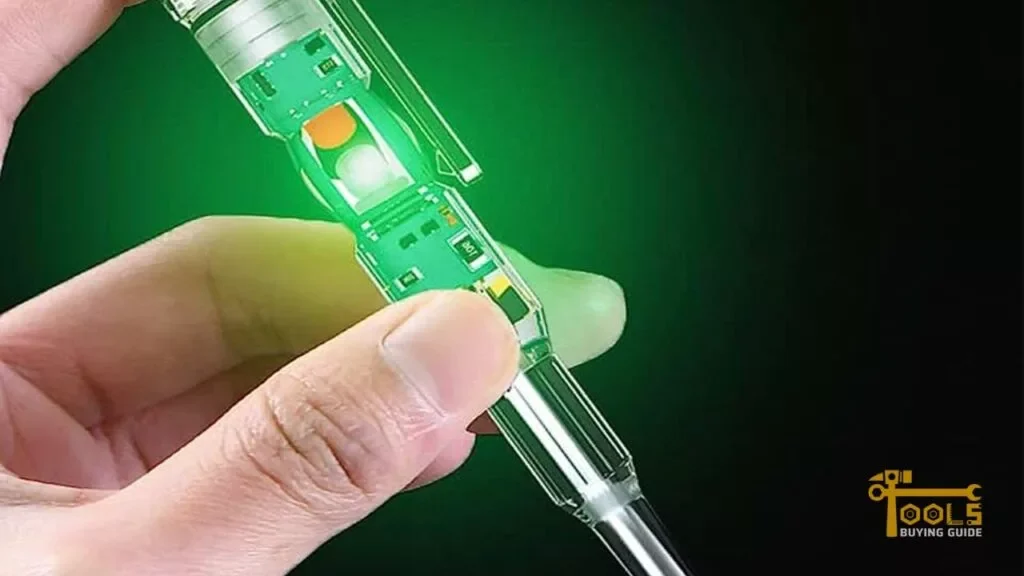
A basic digital multimeter typically has two probes, a red one for positive and a black one for negative. Additionally, you may need a voltage tester or non-contact voltage detector to check if the outlet is live or dead. It is also important to have a screwdriver to remove the outlet cover plate and access the electrical box.
Finally, it is recommended to wear boots, gloves, and safety glasses to protect against any potential electrical shocks. With the right tools and equipment in hand, you can safely and accurately test a wall outlet with a multimeter.
Safety Precautions: How to Avoid Electrical Hazards
Safety is of utmost importance when testing a wall outlet with a multimeter. Electrical shocks can be life-threatening, so it is essential to take proper precautions to avoid any hazards. First, ensure that the outlet is turned off at the circuit breaker to prevent electrical current from flowing through the wires.

Additionally, wear protective gear such as rubber-soled shoes, gloves, and safety glasses to reduce the risk of electric shock. It is also recommended to work with a partner who can turn the circuit breaker off and on as needed.
Before beginning any work, inspect the wires and outlets for signs of damage or wear, and never touch wires or outlets with wet hands. Finally, be aware of your surroundings and avoid working near water or in damp areas.
By taking these safety precautions, you can test a wall outlet with a multimeter without putting yourself or others in danger.
Multimeter Basics: Understanding the Device and its Features
A multimeter is a versatile tool that is commonly used to test electrical circuits and devices. It can measure voltage, current, resistance, continuity, and other electrical parameters. A basic multimeter typically has two probes, a red one for positive and a black one for negative, which are used to make contact with the electrical circuit or device being tested.
The multimeter’s display shows the measurement in units such as volts, amps, or ohms. Some multimeters also have additional features such as auto-ranging, which automatically selects the appropriate measurement range, and a hold function, which freezes the reading on the display.
When testing a wall outlet with a multimeter, it is important to understand these features and how to use them properly to obtain accurate readings. By familiarizing yourself with the multimeter’s basics, you can effectively troubleshoot and diagnose electrical issues with confidence.
Identifying Voltage and Amperage: What to Look for in a Wall Outlet
When testing a wall outlet with a multimeter, it is important to understand the difference between voltage and amperage and what to look for. Voltage, measured in volts (V), is the amount of electrical potential difference between two points in a circuit.
Amperage, measured in amperes (A), is the amount of electrical current flowing through the circuit. In a wall outlet, the standard amperage is 15 A in North America and 16 A in Europe. When testing a wall outlet, you should first check for voltage to ensure that the outlet is supplying power.
If voltage is present, you can then check for amperage to determine if the outlet can handle the load of the device you plan to plug in. Understanding the voltage and amperage of a wall outlet is essential for safe and effective electrical testing.
Testing for Voltage: Step-by-Step Instructions
Testing for voltage in a wall outlet with a multimeter can help determine if the outlet is supplying power.
Here are step-by-step instructions on how to test for voltage:
- Turn off the circuit breaker that controls the outlet you plan to test.
- Remove the outlet cover plate using a screwdriver to access the electrical box.
- Set the multimeter to measure the AC voltage after turning it on.
- Insert the black probe into the multimeter’s COM port and the red probe into the V port.
- Touch the probes to the outlet’s terminals, with the black probe touching the neutral terminal (usually white) and the red probe touching the hot terminal (usually black or red).
- Ensure that the probes are making good contact with the terminals and that they are not touching each other.
- Turn on the circuit breaker that controls the outlet being tested.
- Observe the multimeter’s display and record the voltage reading.
- Turn off the circuit breaker and remove the probes from the outlet terminals.
- Replace the outlet cover plate and turn the circuit breaker back on.
By following these step-by-step instructions, you can test for voltage in a wall outlet with a multimeter and determine if it is supplying power.
Testing for Amperage: Step-by-Step Instructions
Testing for amperage in a wall outlet with a multimeter can help determine if the outlet can handle the load of the device you plan to plug in.

Here are step-by-step instructions on how to test for amperage:
- Turn off the circuit breaker that controls the outlet you plan to test.
- Remove the outlet cover plate using a screwdriver to access the electrical box.
- Switch on the multimeter and select the AC amperage measurement option.
- Connect the red probe to the port designated for measuring amperage and the black probe to the COM port on the multimeter.
- Switch on the circuit breaker in charge of the outlet under examination.
- Plug the device you plan to test into the outlet.
- Open the jaws of the ammeter on the multimeter and place them around one of the wires leading from the device to the outlet.
- Ensure that the ammeter is set to the appropriate range for the amperage being measured.
- Observe the multimeter’s display and record the amperage reading.
- Turn off the circuit breaker and remove the device and probes from the outlet and wires.
- Replace the outlet cover plate and turn the circuit breaker back on.
By following these step-by-step instructions, you can test for amperage in a wall outlet with a multimeter and determine if it can handle the load of the device you plan to plug in.
Read More: How to Use a Dowel Jig?
Conclusion
In conclusion, testing a wall outlet with a multimeter can help determine if it is supplying power and if it can handle the load of the device you plan to plug in. To test a wall outlet with a multimeter, you should follow specific steps for testing voltage and amperage.
These steps include turning off the circuit breaker, removing the outlet cover plate, selecting the appropriate measurement function on the multimeter, making good contact with the probes and terminals, observing the multimeter’s display, and recording the readings.
It is also important to take safety precautions and understand the basics of multimeters and wall outlets. By following these steps and taking appropriate safety measures, you can effectively test wall outlets with a multimeter and troubleshoot electrical issues with confidence.


[…] a multimeter. In this comprehensive guide, we will walk you through the step-by-step process of testing a wall outlet with a multimeter, covering both the necessary precautions and the […]
[…] Read also about how to test a wall outlet. […]