A home improvement project is never complete without a couple of dowels. Whether you’re building furniture or upgrading your cabinets, a dowel jig is an essential tool. But how do you use a dowel jig?
In this article, we’ll walk you through the steps of using a dowel jig so that your next project can be a success. We’ll also show you a few potential pitfalls to avoid when using this handy tool. Before starting, keep the safety gear in mind.
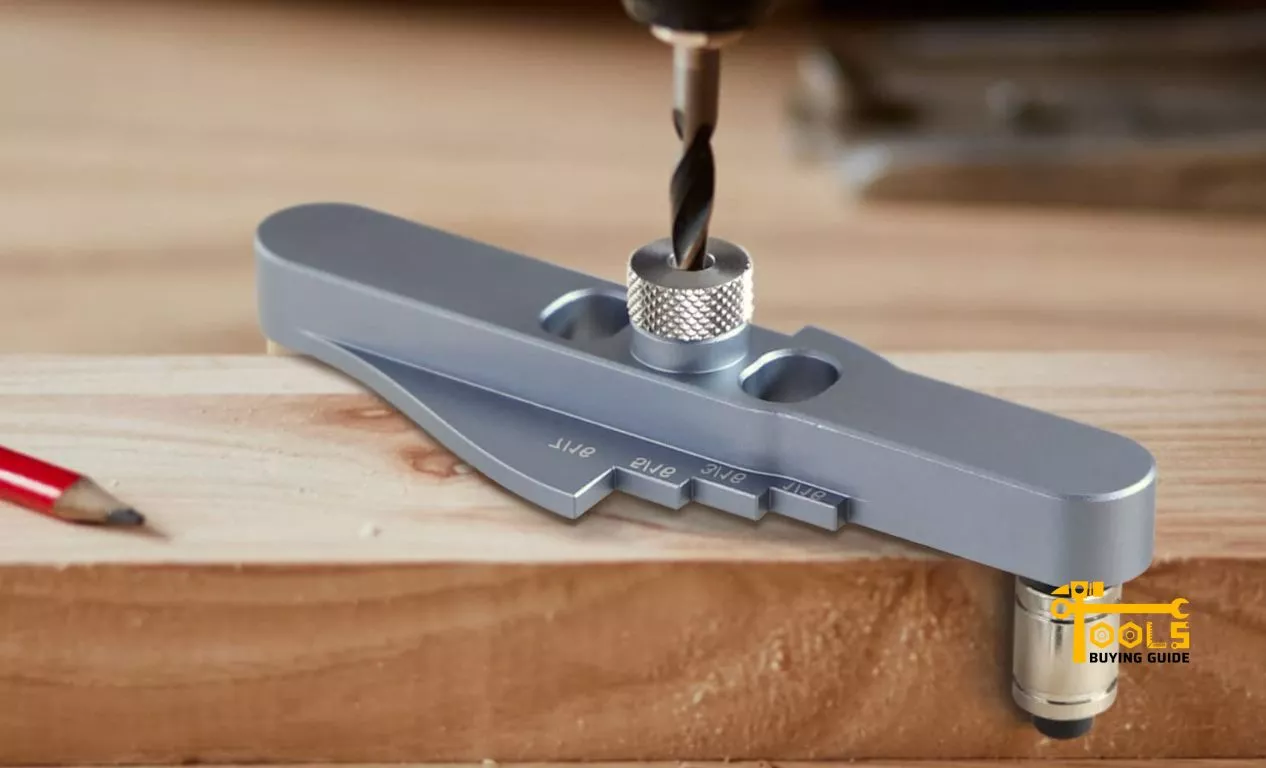
What is a Dowel Jig?
A Dowel Jig is a tool to drill precise, aligned holes for dowels or pegs. It comprises two parts: a metal base and an adjustable bit. The adjustable bit is where the dowels are inserted and held in place while drilling. This ensures that the holes are drilled in the same spot every time. The jig base is typically made from durable metal that won’t deform when clamped to a surface.
Benefits of using a dowel jig
Using the best dowel jig to drill holes for dowels offers several advantages over traditional methods. First, it ensures accuracy and precision when drilling the holes. When using a dowel jig, you can be sure that each hole is drilled at an exact location, allowing for tight-fitting dowell joints.
Second, dowel jigs are much more efficient than drilling by hand. Instead of painstakingly measuring and marking each hole before drilling, you can quickly and easily adjust the bit to align with each dowel.
Dowel jigs make drilling multiple holes much easier. You can drill several dowels in a fraction of the time it would take to do it by hand. A self-centering dowelling jig also makes it easier to drill in hard-to-reach places or locations with tight spaces. With a dowel jig, you can get the job done with minimal effort.
Guide on How to Use a Dowel Jig?
Now that you know the basics of using a dowel drilling jig, let’s look at the steps involved.
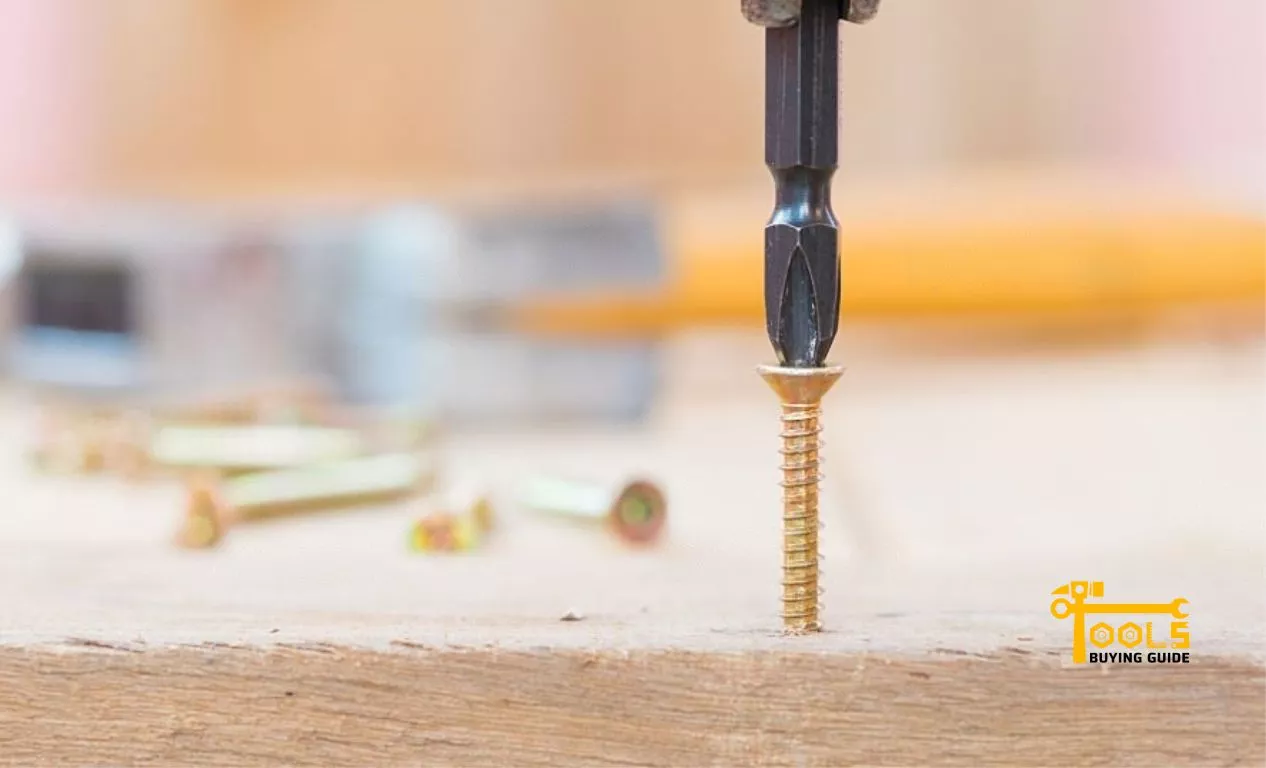
Pre-drilling the holes
Before inserting the dowels into the jig, you must pre-drill the holes. This is necessary because the bit of the jig is generally too large to fit in the holes. To pre-drill, use a drill bit slightly smaller than the dowel you’ll be using.
- Mark the position of the holes with a pencil.
- Select an appropriately sized drill bit and insert it into the drill.
- Secure the piece to a steady surface and begin drilling into the marked positions.
- Drill until the pre-drilled hole is slightly deeper than the length of the dowel.
This will help to ensure that the dowel is securely held in place.
Marking the holes for dowels
Once you’ve pre-drilled the holes, it’s time to mark the positions for the dowels. This is done by using a ruler and a pencil.
- Place the ruler on the surface and line up one end with one of the pre-drilled holes.
- Mark a dot next to each pre-drilled hole.
- Move the ruler to the next hole and mark a dot next to it.
- Repeat until all the holes have been marked.
Marking the holes for the dowels ensures that they will be drilled in exactly the right spots.
Selecting and placing the dowel jig
Now that you’ve marked the holes, you can select and place your woodcraft dowel jig.
- Select the appropriate-size dowel jig for the job.
- Line up one end of the jig with the first marked dot and center it.
- Place the jig on the surface, and tighten the clamp to secure it.
- Ensure the jig is level and aligned with all the marked dots.
To ensure accuracy, ensure the jig is as level and centered as possible.
Inserting dowels and clamping the jig
Once your jig is in position, you can start inserting the dowels.
- Choose the appropriate-size dowel for the job.
- Place the dowel into one of the holes on the jig and make sure it’s secure.
- Tighten the clamp on the jig to ensure it doesn’t move while drilling.
- Repeat with each dowel.
This completes the setup, and you’re now ready to start drilling.
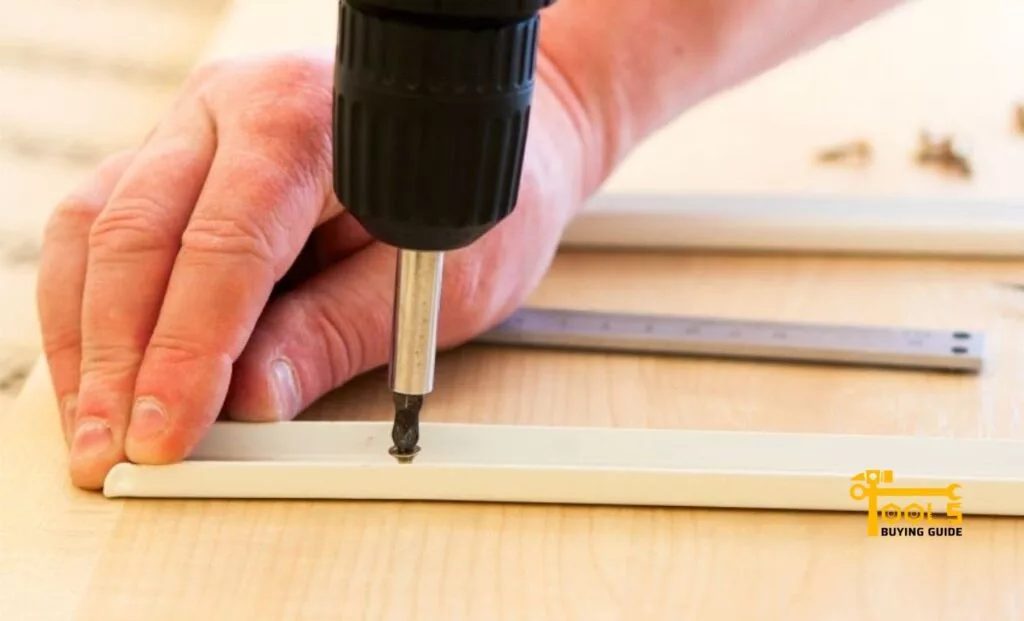
Drilling with the Jig
Now it’s time to start drilling with the jig.
- Secure the drill bit into the drill and insert it into the jig.
- Line up the bit with the dowel and begin drilling slowly and evenly.
- When the drilling is complete, remove the drill bit from the jig.
- Repeat with the remaining dowels.
Removing the dowel jig
Once all the dowels have been drilled, it’s time to remove the jig.
- Unclamp and gently lift the jig from the surface.
- Carefully remove each dowel from the jig, one by one.
- You can also use a pair of pliers to help if necessary.
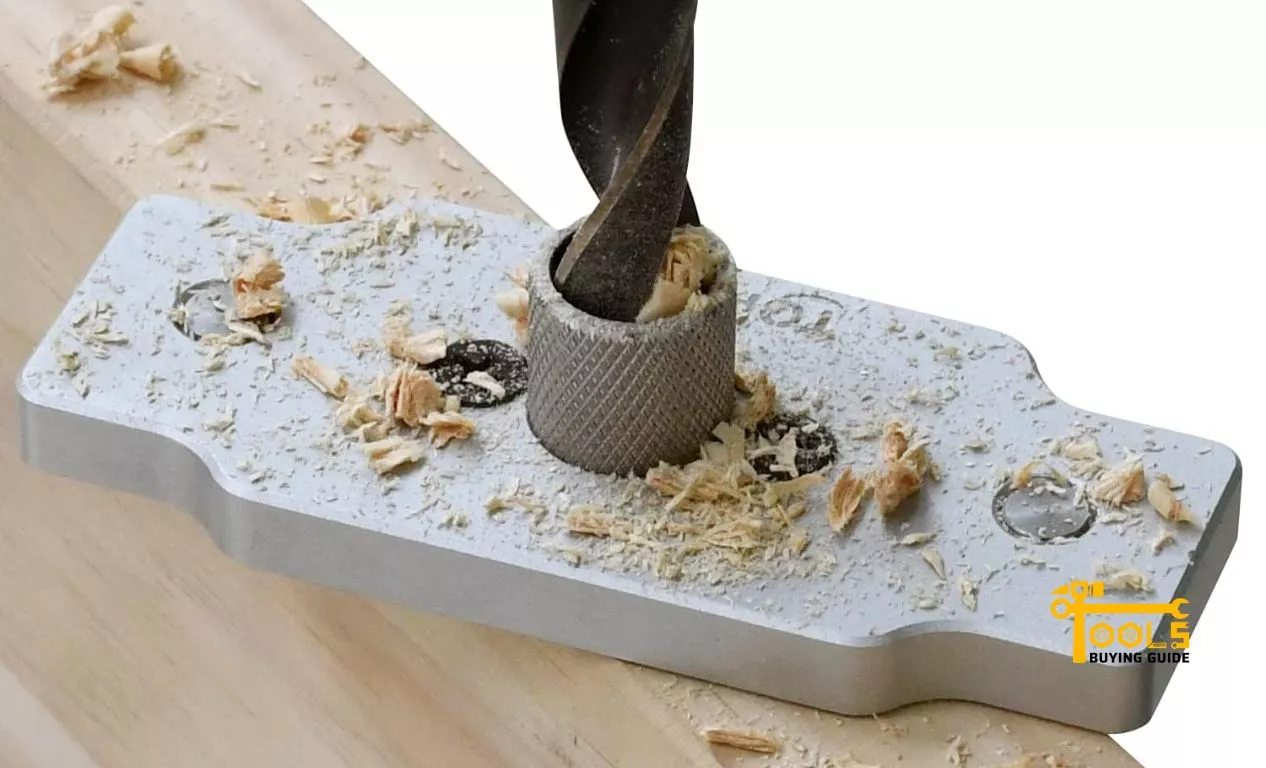
Cleaning up the dowels
Finally, it’s important to clean up any shavings or debris that may have been left behind during drilling.
- Use a vacuum to suck up any dust or debris that is visible.
- Use a brush to remove any remaining particles.
- Wipe down the dowels with a damp cloth, if necessary.
- Once everything is clean, you can proceed with assembly.
What to Watch Out For When Using a Dowel Jig?
While doweling jigs are extremely helpful, there are some things you should watch out for when using them. Here are a few tips to help you avoid any potential issues.
Misaligned dowels
If the holes you’ve drilled for the dowels aren’t properly aligned, the dowel jig won’t be able to work its magic. Make sure to measure and mark each hole precisely, ensuring they all line up perfectly with the jig before drilling. This will help ensure that the dowels are inserted in the correct position.
Damaged drill bits and jigs
Using the wrong drill bit can cause problems with your doweling jig. Always check the manufacturer’s instructions and ensure you’re using the correct size and type of drill bit. If it’s damaged, replace it with a new one as soon as possible. Additionally, always check the condition of your dowel jig before each use. If it’s damaged in any way, don’t use it.
Incorrect dowel measurements
The dowels should be cut to the exact measurements of the holes you’ve drilled. If they’re too long, they won’t fit, and if they’re too short, they won’t hold the pieces together properly. Measure twice and cut once to ensure the dowels are the right size.
Unsecured dowels
Make sure the dowels are secured in place before tightening the jig. If they’re not, the jig won’t be able to do its job properly. Also, don’t over-tighten the jig, as this can damage the dowel and cause it to break.
Sharp edges on the dowels
Finally, it’s important to check the dowels for sharp edges before gluing them into place. Sand down any rough edges to avoid splinters or other similar issues. This will ensure that the finished product is smooth and safe to handle.
So, with these tips in mind, you’re ready to get started with your ultimate doweling jig.
Frequently Asked Questions:
Why use a dowel jig?
A dowel jig is a great tool for creating accurate, consistent dowel joints in woodworking projects. With one, you can quickly and easily create strong, secure joints that don’t require any additional fasteners. Plus, they’re simple and can be used for various projects.
What is the main purpose of a jig?
The main purpose of a jig is to guide your drill bit and ensure it’s going in the right direction. This helps ensure that your holes are perfectly straight and the dowels fit in snugly.
What is a jig in design?
A jig in design is a template or tool that helps you achieve consistent results when creating complex shapes. For example, a dowel jig can help you drill accurately spaced holes to fit dowels perfectly.
What is dowel length?
Dowel length refers to the length of a dowel measured in millimeters. When using a wood doweling jig, it’s important to measure the dowel length before drilling your holes to ensure a secure fit.
What is dowel material?
Dowel material refers to the type of wood used for your dowels. Common materials include hardwood, softwood, and particleboard. The type of material you choose should depend on the application and your project’s requirements.
Conclusion
The dowel jig is an invaluable tool for any woodworker, whether a novice or an experienced pro. Knowing how to use a dowel jig is essential to getting the perfect joint. Careful measuring, marking, and alignment will ensure your joints are strong and accurate.
With the right guidance and knowledge, you can make beautiful furniture that lasts for years. So get your dowel jig kits out of the shed and prepare to make something amazing.


[…] to enhance your skills, this comprehensive guide will walk you through the step-by-step process of how to use a dowel jig effectively. From setting up the jig to drilling the dowel holes and assembling the pieces, […]
[…] Read Also about how to use dowel jig […]