Are you a handyman, a carpenter, or just a DIY enthusiast? Do you find yourself in constant need of carrying tools around and looking for an easier way to do it? Well, then, a tool belt may be the perfect solution for you! A good tool belt can help you easily organize your tools and keep your hands free while doing your work. But how to wear tool belt properly?
In this blog post, we will discuss the anatomy of the tool belt and overall safety gear, the types of tool belts, the features of each one, and some tips for wearing it correctly. Read on to learn more.
Anatomy of the Tool Belt:
Let’s start by understanding what a tool belt is made of and how it works.
Identifying the parts of a tool belt
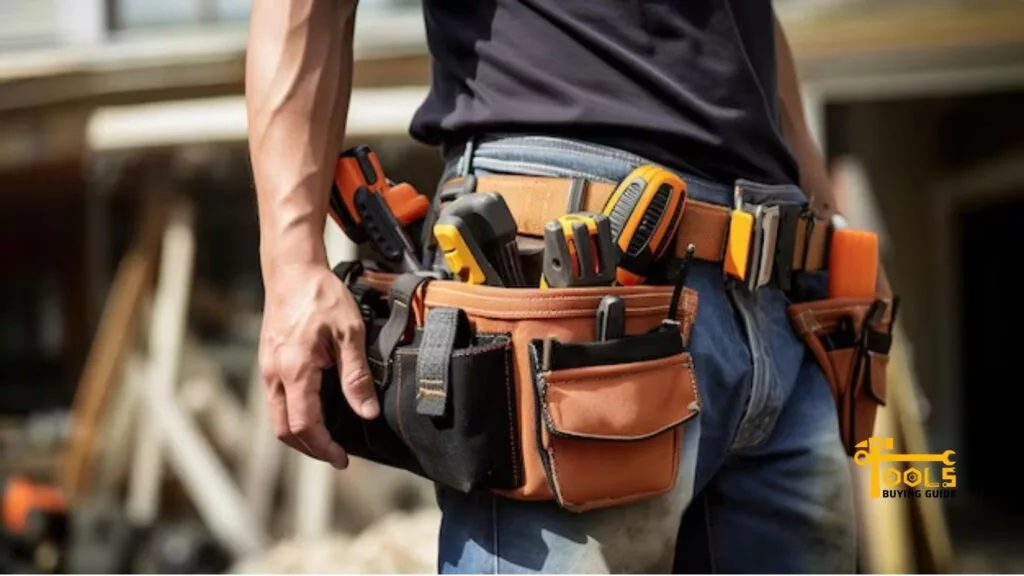
The tool belt has a waist strap, vertical straps, pouches, and accessories such as hammer holders.
Waist Strap
This is the main component of the belt that wraps around your waist and secures the whole thing in place. It’s usually made from heavy-duty canvas or leather and should be adjustable to fit your size.
Vertical Straps
These straps attach to the waist strap, allowing you to hang different tools from them. They are usually made from webbing or nylon material.
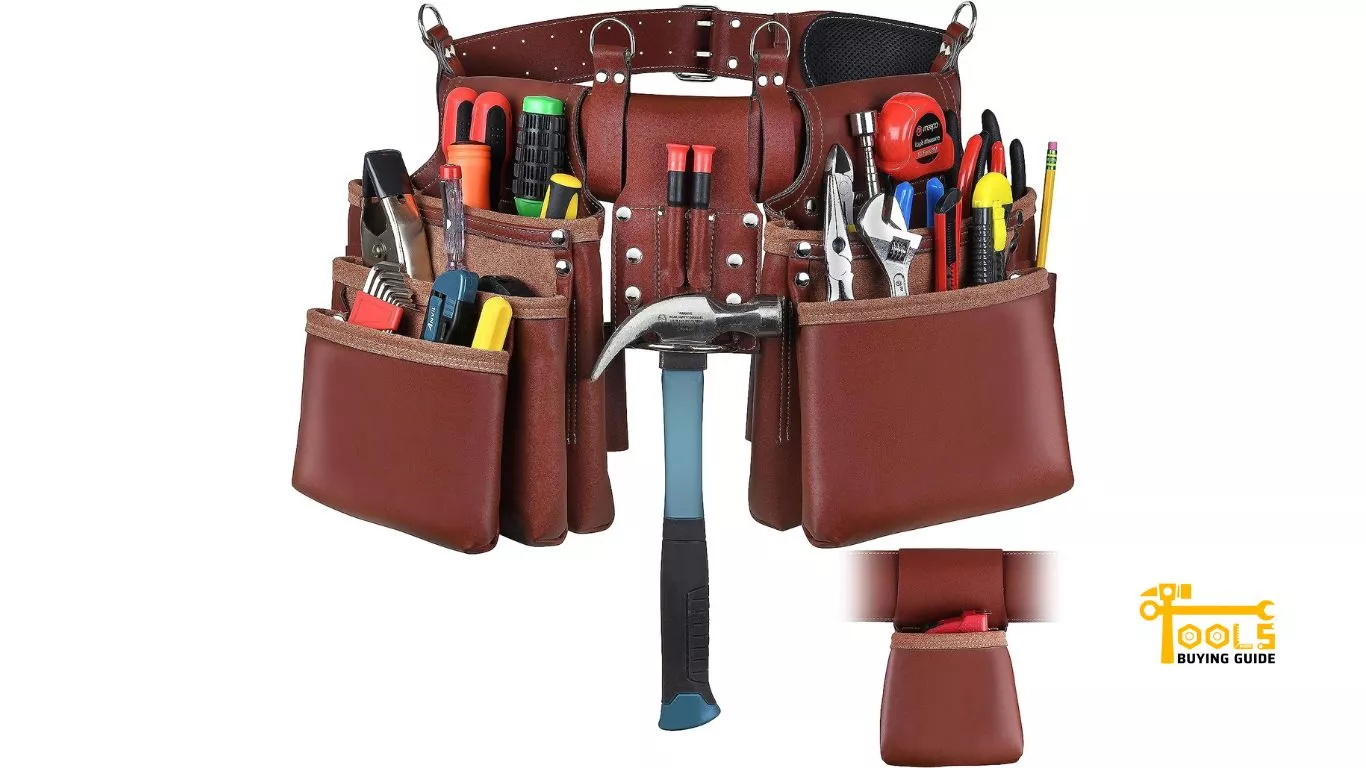
Pouches
This is where you store all your tools and supplies. The pouches come in different sizes and shapes, including pockets for nails and screws, hammer holders, and even a tool belt for your drill.
Accessories
Additional items, such as suspenders, flashlight holders, and more, can be attached to the belt. You can choose the ones that fit your needs.
Different types of tool belts
Now that we know what the components of a tool belt are, let’s look at the different types available in the market.
Frameless Belts
These belts don’t have any frames and are usually made from a lightweight material such as nylon webbing. They are perfect for carrying light tools and supplies but unsuitable for heavy tools.
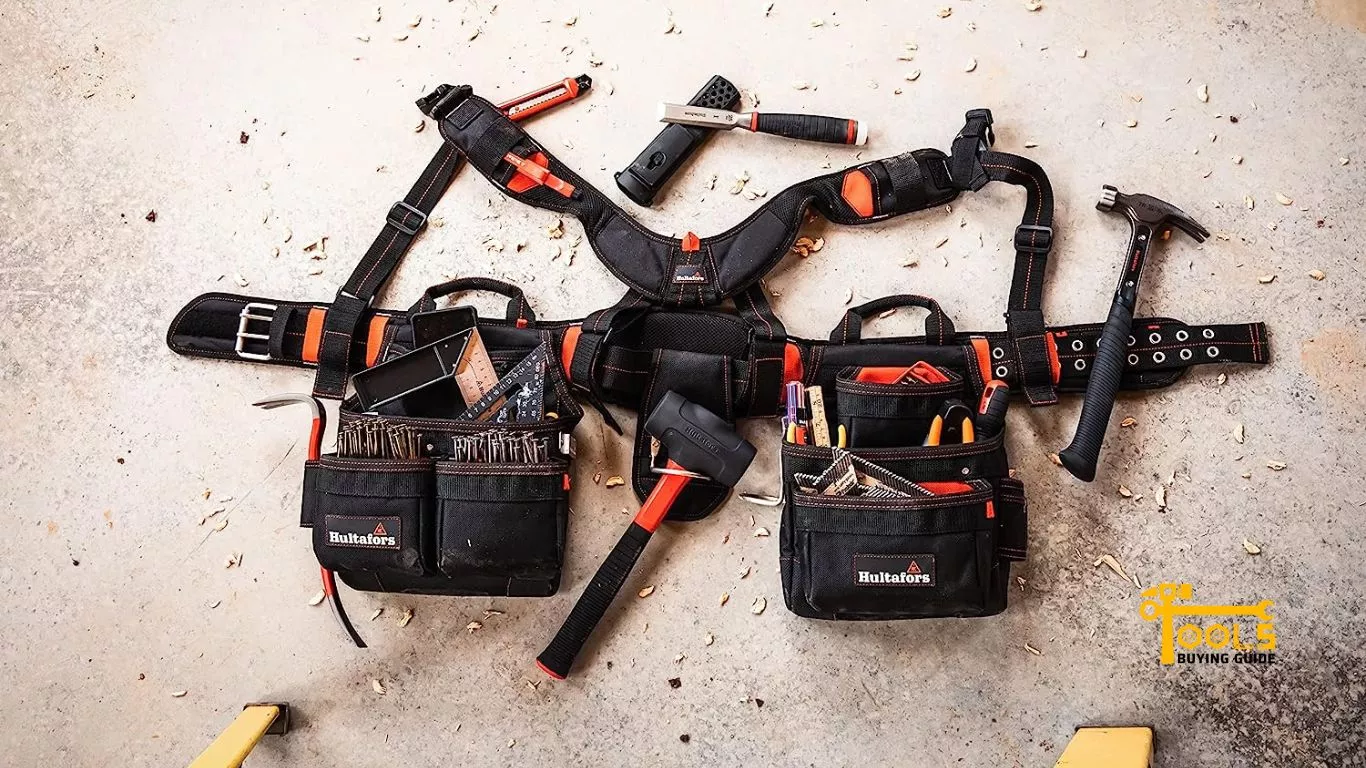
Suspender Belts
These belts come with a pair of suspenders for extra support and comfort. They are perfect for carrying heavier items and tools, as the suspenders help to distribute the weight evenly.
Framed Belts
These are the most popular type of tool belt, and they are made with a rigid frame that supports the weight of your tools. They are ideal for heavy-duty tasks and professional use.
Combination Belts
These belts combine the features of both frameless and framed belts for maximum versatility. They are perfect for any job, from light to heavy duty.
Read Also: Best Cordless Framing Nailers
Preparing to Wear the Belt
Now that you know your tools and the type of belt that best suits your needs, it’s time to put on the belt. Here are some tips for wearing your tool belt correctly:
Measure yourself for the right fit
The first step is to measure your waist to get the right size for your belt. To do this, use a flexible measuring tape and wrap it around the widest part of your waist. Write down the measurement and keep it handy when shopping for a tool belt.
Select the right tools
Once you have the right size belt, you must select the tools you will be taking with you. Consider what tasks you’ll be doing and choose the appropriate tools for those jobs. You should also consider how many pockets and pouches your tool belt has, as this will determine which items can fit in it.
It’s also to keep the weight of your tools in mind. Too many heavy items can make wearing them uncomfortable and hard to move around.
Assemble your belt
Now that you have the correct size belt and the right tools, it’s time to assemble your tool belt. Start by connecting the waist strap around your waist, then attach the pouches and accessories in the most comfortable positions.
Step-by-Step Guide on How to Wear a Tool Belt:
Finally, here is a step-by-step guide on how to wear a belt correctly:
Step 1: Put on the belt
Put the belt around your waist and adjust it to fit comfortably. Ensure the belt is snug but not too tight, as this can restrict movement. Secure the buckle tightly and double-check that everything is correctly attached. This will help to ensure that your tools remain securely in place.
Step 2: Secure the side straps
Once the waist strap is secured, you can secure the vertical straps. These are important for attaching pouches and other accessories to your belt. Make sure they’re tight enough not to move around but not so tight that they become uncomfortable.
Step 3: Positioning the pouches
Now that the side straps are secured, it’s time to position your pouches and accessories on the belt. The best way to determine where to place them is to think about which tools you use most often and position them within easy reach. This will make it easier to access your tools while working.
Step 4: Attach your tools
Once the pouches are positioned, it’s time to attach your tools. Start by looping a lanyard or carabiner through the handles of each tool and attaching it to the belt or pouch. Ensure all your tools are securely attached so they don’t fall out while you’re working.
Step 5: Adjust as needed for comfort
Now that all your tools are in place, adjust the straps and other components as needed to ensure everything is comfortable. Remember to keep your carpenter tool belt snug but not too tight, as this can restrict movement and make it difficult to work.
Tips and Tricks for Wearing Your Tool Belt
Now that you know how to wear the belt correctly, here are some tips and tricks that will help you get the most out of your tool belt:
Wear the belt only when necessary
Your tool belt should only be worn when it is necessary. This helps to keep your tools secure and prevents them from getting in the way while you’re working.
Choose lightweight tools
When selecting tools for your belt, choose ones that are as light as possible. This will make carrying them around easier and keep your belt balanced. You should also avoid adding too many tools to your belt, as this can make it uncomfortable to wear.
Keep pouches close to your waist for balance
When positioning the pouches on your belt, keep them as close to your waist as possible. This will help to keep the weight of the belt evenly distributed and make it easier to move around while you’re working.
Store frequently used tools in easy-access pockets
To make sure you have quick access to the tools you use most often, store them in the easiest-to-reach pockets. This will save you time and prevent you from searching through your belt for the right tool.
Use a carabiner or lanyard for hard-to-reach tools
For tools that are difficult to reach, use a carabiner or lanyard to keep them securely attached to the belt. This will make it easier to access them while you’re working and prevent them from getting lost.
Regularly check the tension of the straps
Check the tension of your straps regularly to ensure they’re still tight enough to keep your tools in place. Over time, the straps can become loose and cause your belt to slip off, so keeping an eye on them is important.
Clean your belt after each use
Finally, clean and maintain your tool belt and equipment after each use. This will help keep it in good condition and last longer. You can use a damp cloth to wipe down the belt and remove dirt or debris.
Frequently Asked Questions
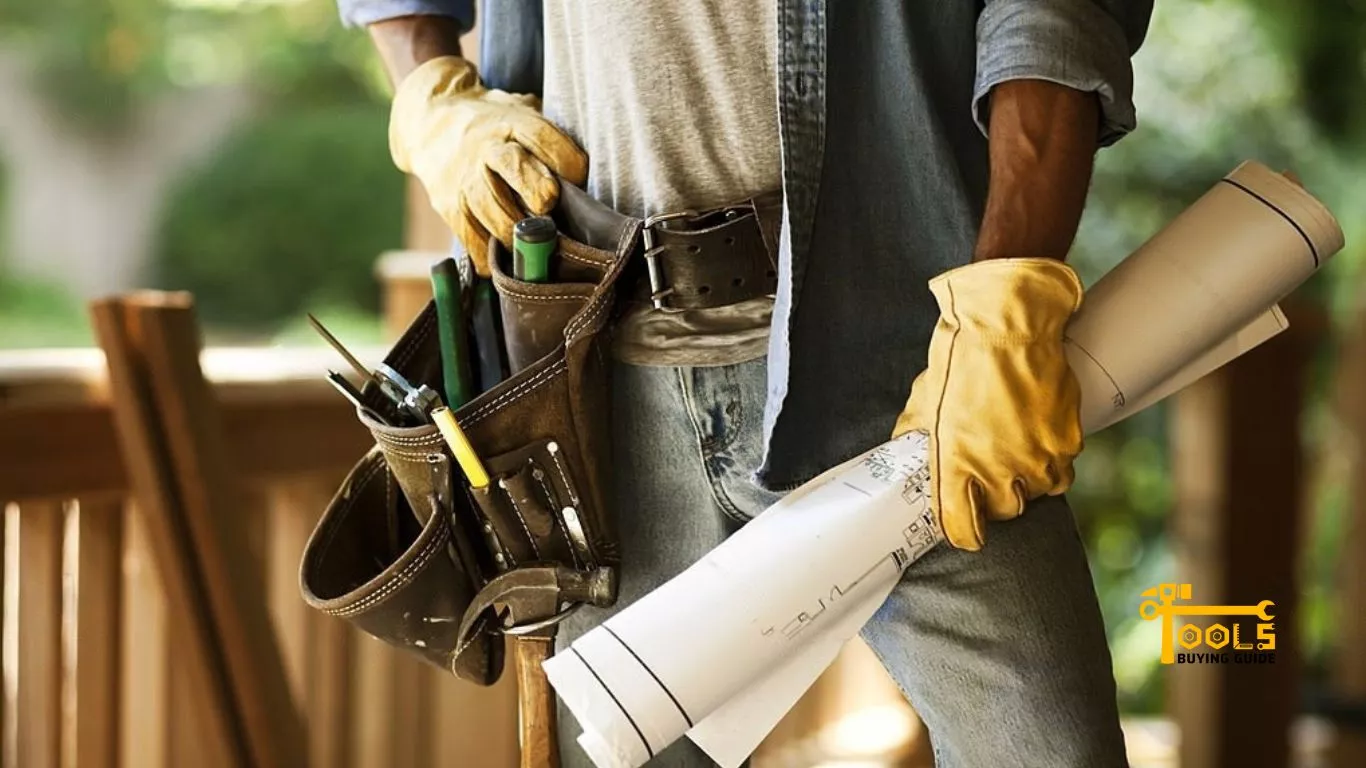
Your tool belt should be worn around your waist, just above the hips. This will make it easier to move around while you’re working and keep the weight of the belt evenly distributed.
The way you wear your belt is up to personal preference. Some people prefer to wear it on their left hip, while others prefer it on their right hip. It’s all about what is most comfortable for you when asking do belts go left or right.
Tool belts usually go in the front, around your waist. This will make it easier to access your tools and prevent them from getting in your way while working. However, some people prefer to wear their tool belts in the back, which is also an option.
The same rules apply to women as they do to men when asking which way to wear a belt. Women should wear the belt around their waist and adjust it to fit comfortably, just like men do.
When tying your hands with a belt, loop the belt through both hands and secure it tightly. Ensure the knot is secure and not too tight, as this can be uncomfortable. Finally, double-check that everything is in position and you’re all set.
Conclusion
Wearing a tool belt correctly is an important part of working safely and efficiently. This guide provides a step-by-step guide on how to wear tool belt and some tips and tricks for getting the most out of it.
Follow the steps outlined to ensure your tools are secure and you wear your belt correctly. From selecting the right tools for your belt to adjusting it for comfort, you’ll soon find that wearing a tool belt can be an enjoyable experience.
Take the time to learn how to wear a tool belt properly, and you’ll be able to work more efficiently and safely. Enjoy.


[…] make the decision easier for you, I have put together a comprehensive buying guide that covers the key factors to consider when choosing a tool belt for roofing. By taking these factors into consideration, you will be able to find the perfect tool belt that […]
[…] Read more about how to wear a tool belt […]