
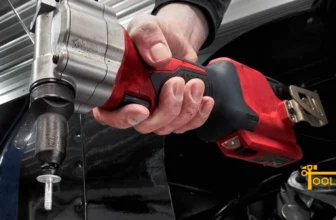
In the world of crafts, the art of hand engraving is one of the most intricate and detailed. The tools used in hand engraving are often very fine and require sharpening regularly. You don’t need to be a master craftsman to keep your tools in top shape. But how do you sharpen hand engraving tools?
In this article, we’ll cover the basics of sharpening hand engraving tools. We’ll explain the steps you need to take to get your tools up to snuff. The tips and tricks we’ll discuss will help keep your tools in great shape for years to come. So, grab your diamond file set, and let’s get started.

What is Hand Engraving?
Before we jump into sharpening hand engraving tools, let’s discuss what hand engraving is.
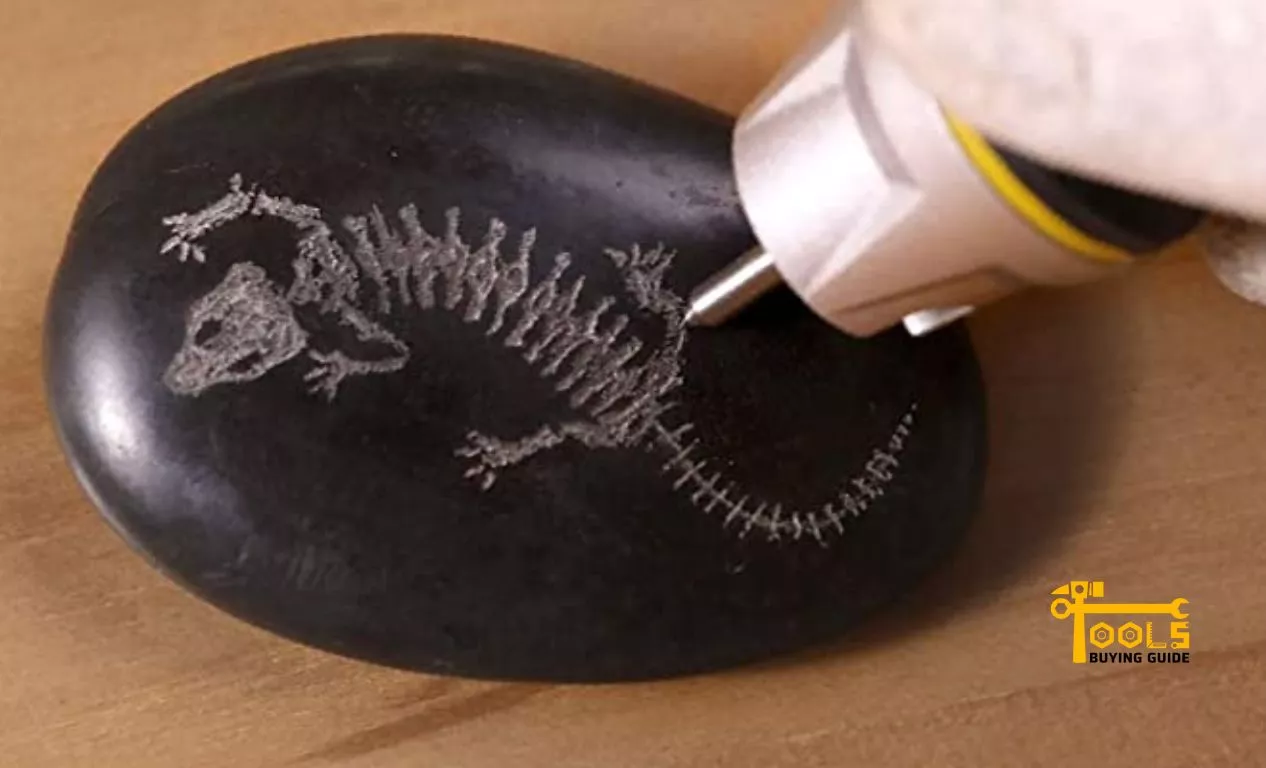
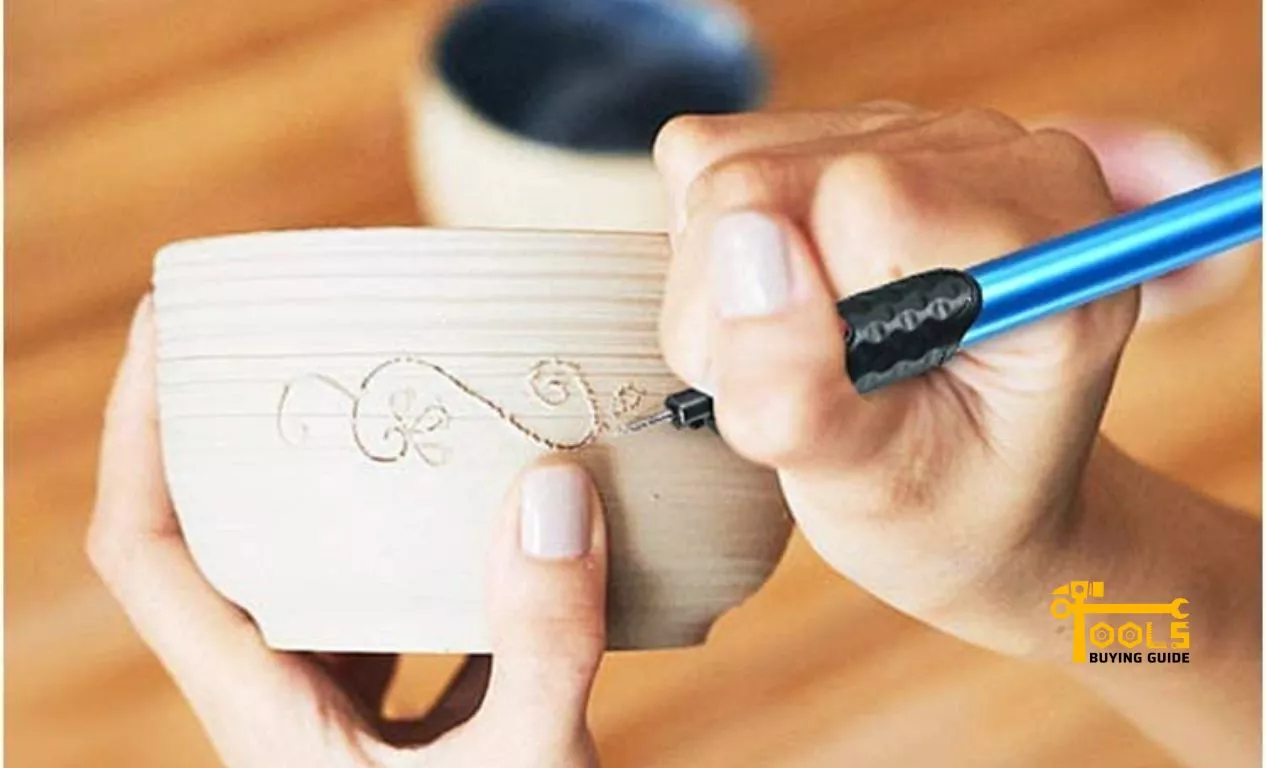
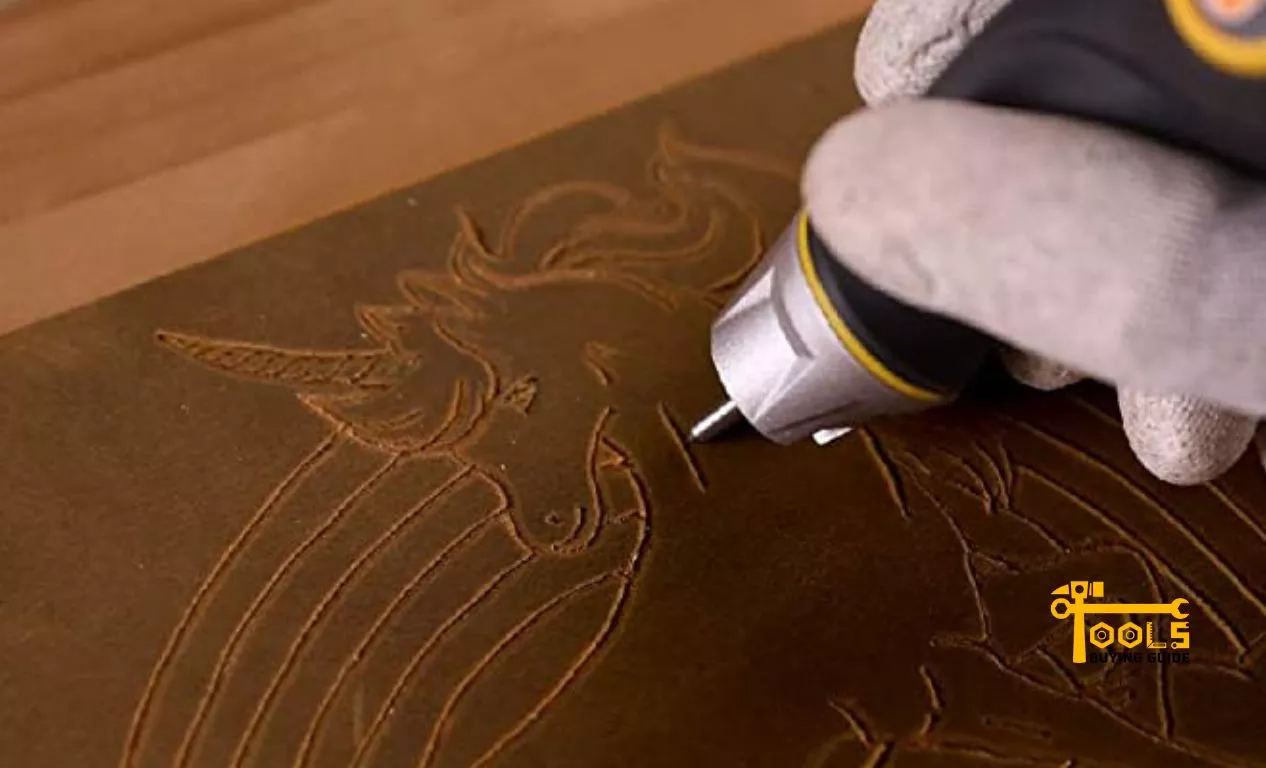
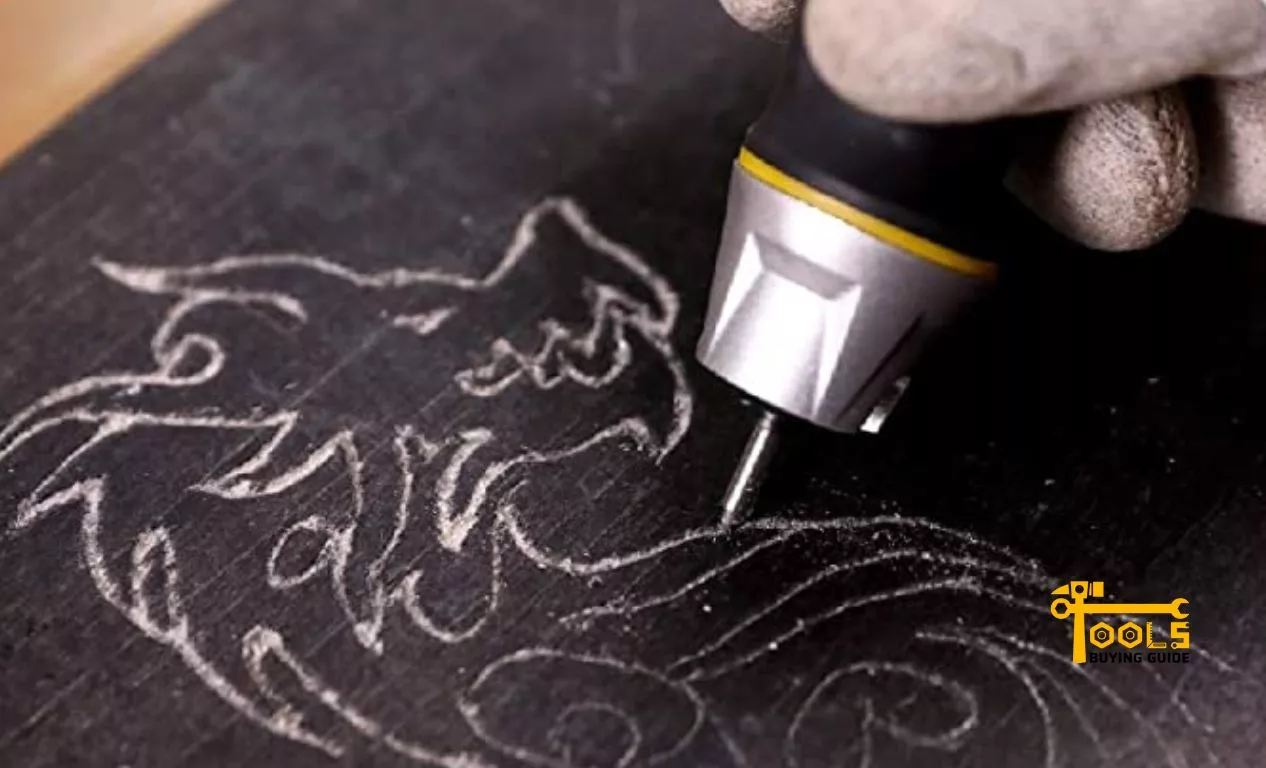
Hand engraving is an intricate and creative form of metalworking. It involves using various tools to carve designs into metals, such as steel or gold. The tools used for hand engraving are very fine and delicate, so they must be kept sharp to produce the desired results.
The tools used for hand engraving can be divided into two main categories: push tools and gravers. Push tools are usually round or flat-shaped with a handle at one end. These tools are used to create lines and curves in the metal. Graver blanks, on the other hand, are pointed tools used for finer details and more precise work.
Read More: How to Scrap Metal
Why is it Important to Keep Hand Engraving Tools Sharp?
The art of hand engraving requires precision and accuracy. This is only possible if the tools used are kept sharp. A dull tool can produce uneven results, which will diminish the overall quality of the engraving. The engraving details can only be achieved when the tools are sharpened regularly.
Keeping your hand-engraving tools sharp also increases the lifespan of the tools. A sharp tool is less likely to cause damage or wear and tear to the metal. Furthermore, it’s much easier and quicker to work with a sharp tool than a dull one.
Materials Needed for Sharpening Hand Engraving Tools
Now that you know why it’s important to keep your hand-engraving tools sharp, let’s discuss the materials you’ll need to do so.
Diamond file set
A diamond file set is a must-have for face sharpening hand engraving tools. The files will help you remove burrs and smooth the edges. A set of diamond files usually includes a few different sizes and shapes, such as round, triangular, square, and flat. Depending on the type of tool you’re sharpening, you may need different sizes or shapes of files.
Sandpaper (Various grades)
Sandpaper is another essential material for sharpening hand engraving tools. Different grits will be used to achieve different levels of graver geometry. Start with a coarse grit to remove burrs, then move up to a medium or fine grit for smoothing and polishing.
Oil Stone or waterstone
An oil stone or Waterstone can be used to sharpen hand engraving tools further. These stones have a smooth surface that will help create a razor-sharp edge on the tools. For best results, use a combination of an oil stone and a leather strop.
Leather strop
A leather strop is a great way to refine further and sharpen the edge of the hand engraving tools. The leather strop should be used after the oil stone or waterstone to produce a finer and sharper edge. The leather strop can also help prolong the life of the tool.
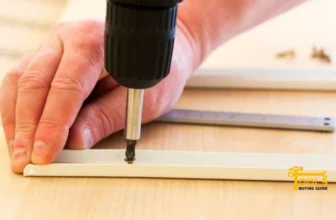
Preparing to Sharpen Hand Engraving Tools
Before you start sharpening your hand engraving tools, there are a few important things you need to do.
How to properly prepare the tool?
- Inspect the tool for any damage or wear. If there are any burrs, chips, or cracks, use a diamond file to remove them before proceeding.
- Clean the tool with a soft cloth or brush to remove dirt or debris. This will help you get a better sense of the tool’s shape and structure.
- When tom sharpening, make sure to keep your strokes even and consistent. This will help create a finer and sharper edge.
- Finally, oil or lubricate the tool with a few drops of mineral oil before using it. This will help reduce friction and wear and tear.
Safety considerations when sharpening hand engraving tools
Safety should always be your top priority when sharpening hand engraving tools. Here are a few tips to keep in mind:
- Wear protective gear, such as gloves and eye protection, when sharpening the tools.
- Keep your work area clean and free of debris.
- Use a vice or clamp to secure the tool while sharpening it. This will prevent accidental cuts and abrasions.
- Always use a sharpening stone of the right size and shape for the job. This will help you achieve better results.
- Make sure the tool is at a comfortable angle and position. Poor posture can cause fatigue and lead to injuries.
- Finally, never sharpen a tool that is too dull or damaged. This can cause the tool to break or chip.
Following these tips will ensure a safe and efficient sharpening process.
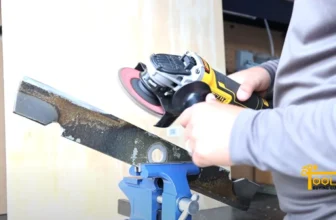
Steps for Sharpening Hand Engraving Tools
Once you’ve prepared the tool and taken safety precautions, it’s time to sharpen your hand-engraving tools. The following steps will help you get the perfect edge:
Use a coarse diamond file to remove burrs
The first step in sharpening your hand engraving tools is to use a coarse diamond file. This will help remove any burrs that are present on the tool. Start by laying the file flat against the tool’s edge and drawing it back in a smooth, even motion several times.
Make sure to keep the pressure equal and consistent throughout this process. Once the burrs have been removed, check the edge of the tool for any remaining roughness. If there are any, repeat the filing process until the tool’s edge is smooth and even.
Begin sharpening with a medium-grit sandpaper
When you’re satisfied with the edge of the tool after filing, it’s time to begin sharpening with medium-grit sandpaper. Start by placing the sandpaper flat on a hard, level surface, and draw the tool along it in a smooth, even motion.
Make sure to keep the pressure consistent and to move the tool evenly across the entire length of the sandpaper. When you’ve finished sharpening, check the edge and repeat the process if necessary.
Smooth the edge with a finer grade sandpaper
Once you’ve achieved the desired sharpness with the medium-grit sandpaper, it’s time to smooth the edge with the finer-grade sandpaper.
Start by using the same technique you used with the coarser sandpaper and draw the tool along the paper in a smooth, even motion. This will help achieve a smoother, more precise edge. After you’re done, check the tool for any roughness and repeat the process.
Further, refine the edge using an oil stone or waterstone
To achieve the perfect edge on your hand engraving tools, you’ll need to take one final step. Oil stone, or water stone, is also a graver sharpener for edge refining.
Place the stone on a flat surface and wet it with either oil or water. Then, hold the blade of your hand engraving tool at an angle and rub it against the stone in one direction to smooth out any imperfections.
Repeat this process on both sides of the tool’s blade until you have achieved the desired sharpness. Make sure to take extra care not to put too much pressure on the blade and keep a steady hand. Once you have achieved the desired sharpness, maintain it with a leather strap. This will help keep your blade in perfect condition for future engravings.
Trips for Sharpening Hand Engraving Tools
With the right tools, preparation, and technique, you can easily achieve a nice edge on your hand engraving tools. Here are a few tips to help you get the best results:
- Be sure to apply lubricant to the oil stone or water stone. This will help keep the blade from becoming dull and protect it from corrosion.
- Maintain a consistent angle when sharpening with sandpapers and stones. This will help you achieve the best results in the shortest amount of time.
- Keep track of how many times the tool has been sharpened. This will help you determine when to replace the tool or take a break from sharpening.
- Keep your work area cool and dry to avoid the corrosion of the tool. Ensure that the area is well-ventilated and away from any direct heat sources.
Following these tips will help you sharpen your hand-engraving tools with ease and achieve stunning results.
Frequently Asked Questions
You can sharpen carbide gravers using a bench grinder or a diamond or CBN grinding wheel. Move the graver back and forth across the grinding wheel at an angle so that you create a sharp point. Once finished, you can use a honing tool or ceramic stone for grave sharpening.
Engraving on tools requires a rotary handpiece, an engraving tool, and the right technique. You need to hold the tool at the right angle and make sure the tool is not pushed too hard into the material. Move the handpiece slowly, allowing the tool to do its work.
Yes, a carbide blade can be sharpened. Carbide blades are very hard and require special tools to sharpen them. An angle grinder is the best option for sharpening a carbide blade. Use the correct angle grinder bit designed for sharpening carbide blades.
You can use a diamond or CBN grinding wheel to sharpen the carbide. Use the proper angle and make slow, steady passes across the grinding wheel. You can also use a ceramic stone or honing tool to sharpen the edge and polish it.
Conclusion
Now that you know how to sharpen hand engraving tools, you can keep your engraving tools in tip-top shape. Whether you’re an amateur or a professional engraver, keeping your tools sharp is essential for creating beautiful works of art.
With the right tools, maintenance, and practice, you can be sure that your engravings will always look their very best. Plus, you’ll save time and money by not having to replace dull tools. So don your safety goggles, sharpen those engraving tools, and get to it. Happy engraving.
Read More : How to Stagger Vinyl Plank


[…] Get the scoop on how to sharpen hand engraving tools for optimal performance. Learn tips and tricks from professionals to keep your tools in shape. […]
[…] Read More about how to sharpen hand engraving tools […]