Want to make your home look chic with a stylish new flooring installation? Vinyl plank flooring is the perfect choice for any room in your house. The soft and wood-like design of this plan can bring a modern style to your home. If you are installing it yourself or with the help of a professional, you should know how to stagger vinyl plank flooring.
The installation guide will help you understand how to lay the planks of your vinyl flooring and complete the project professionally. Read on for complete instructions on how to stagger flooring.
Why Stagger Vinyl Plank Flooring?
To get the most out of your vinyl plank flooring, you should understand why it’s important to stagger the planks.
Staggering vinyl plank flooring serves two main purposes. First, it strengthens the flooring and gives it a more polished finish. This is because staggered planks are less likely to move apart when people walk on them.
Read More: How to Start a Stihl Weed Eater
Second, the staggering pattern gives off the illusion of a larger size for the room. The lines created by randomly staggered flooring can make the floor seem much longer than it is. Staggering also helps hide irregularities in the wood planks, creating a more even floor. This also prevents any single plank from standing out and detracting from the beauty of your room.
Preparing To Install Vinyl Plank Flooring
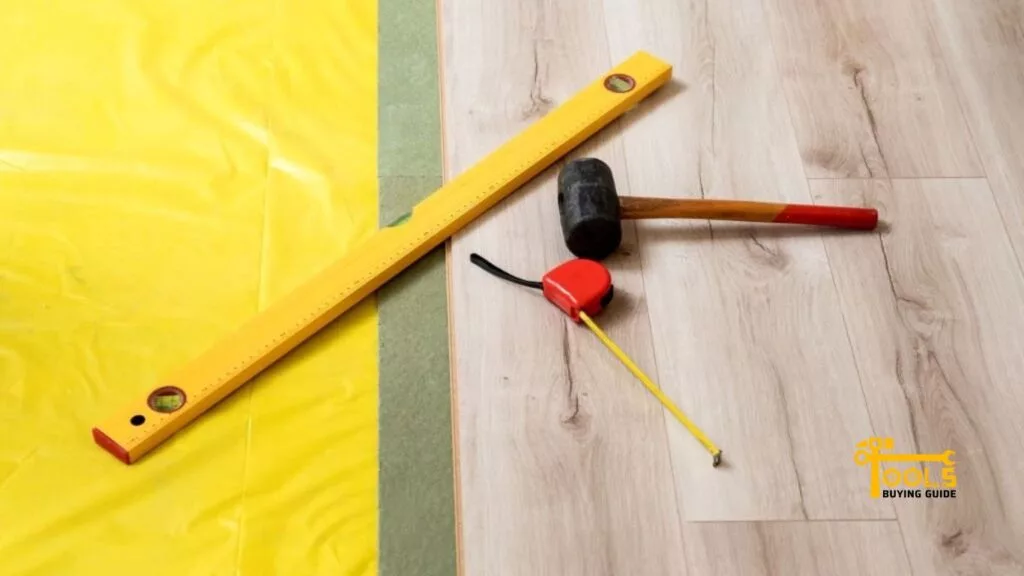
Before you begin to stagger your vinyl planks, you’ll need to do some preparation. Here’s what you’ll need:
Measure the room and determine the layout
Measuring your room is crucial before laying down the vinyl planks. You’ll need to know the exact size of the room and its boundaries so that you can calculate how many planks will be needed for the entire project. To get an accurate measurement, use a tape measure and mark off the dimensions with a pencil.
Once you’ve measured the room, it’s time to determine your layout. This will involve deciding which wall should be your starting point and in which direction you’ll lay out the planks. Choose a wall with straight edges as much as possible since it will provide a reference point for lining the planks.
In addition to your vinyl planks, you’ll also need a few other supplies for vinyl plank flooring installation patterns. You’ll need:
- Tape measure
- Carpenter’s square
- Hammer
- Nails
- Chalk or painter’s tape
- Utility knife
- Padding
- Spacers
- Vinyl flooring adhesive and trowel (optional)
Double-check what type of adhesive and trowel you’ll need for your particular vinyl plank flooring. Invest in a pull bar, tapping block, and mallet to make the process easier.
Prepare the sub-floor
Before laying down the planks, you must ensure your subfloor is level and smooth. If it’s not, the planks can become wobbly or uneven when people step on them. To avoid this, use a self-leveler to smooth out any dips or bumps on the floor.
You should also check that your subfloor is clean and debris-free before laying down the planks. Remove any dirt, dust, or grime that may be present.
How To Stagger Vinyl Plank Flooring?
Now it’s time to begin the installation.
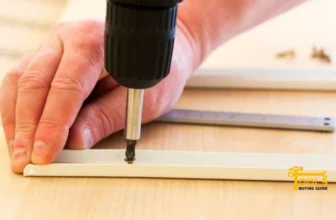
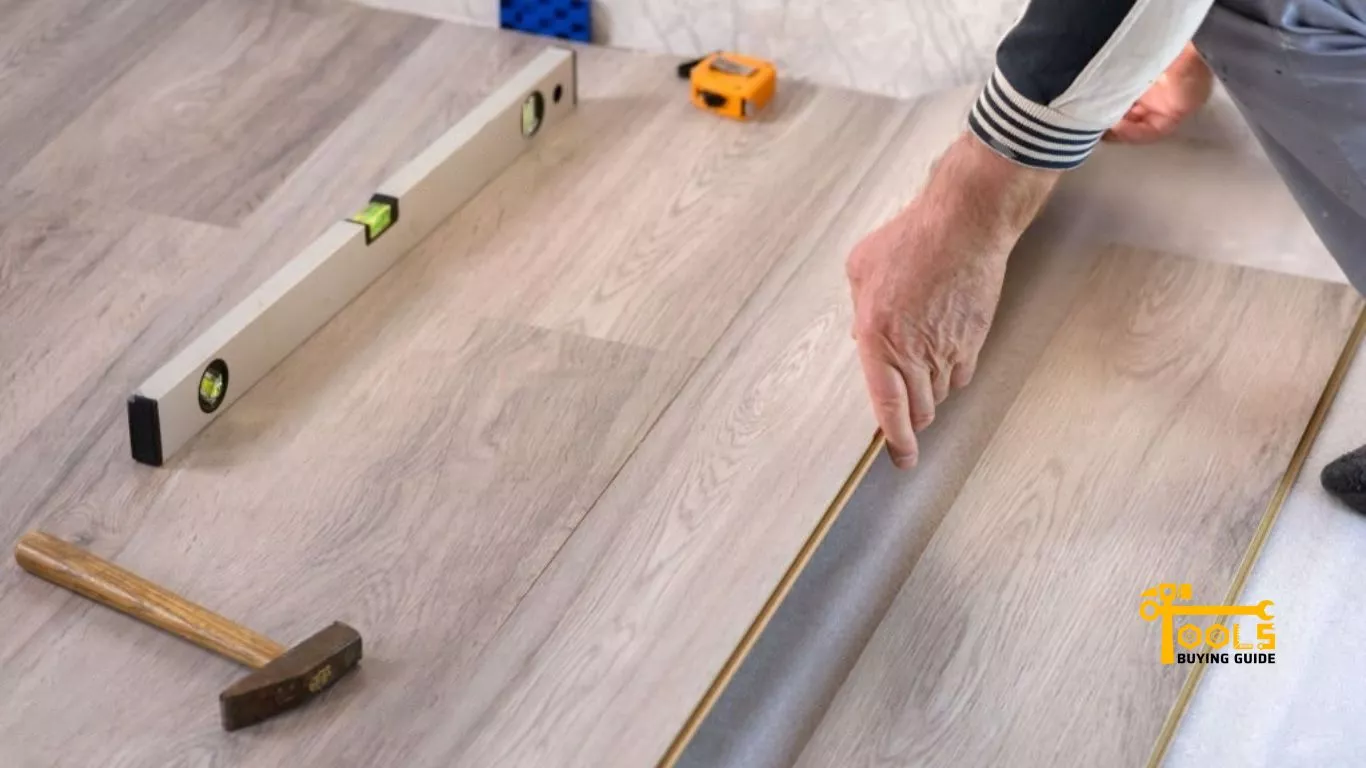
Step 1: Begin installation on a wall
Start by placing the first plank along the wall. This will be your reference point when laying down the rest of the planks. Make sure it is straight and lined up with the edge of the wall. Use a carpenter’s square or a spirit level to keep it level. If you have padding for your floor, place it underneath the first plank.
Next, use adhesive to secure the first plank to the floor. If you don’t have any adhesive, nails can also be used. As a general rule of thumb, install two nails at each end of the plank and one in the center. Hammer them into place using a hammer or mallet.
You should then apply some pressure to ensure the plank is firmly secured. If you have any gaps between the wall and your first plank, use spacers to fill them in. When you’re done, take a few steps back and check that everything looks straight and level before moving on to the next plank.
Step 2: Install the first row of planks
Once you’ve secured your first plank, it’s time to move on to the other planks in the row. Start by placing a spacer on each side of the plank, then lay down the next one so that its edge is lined up with the spacer.
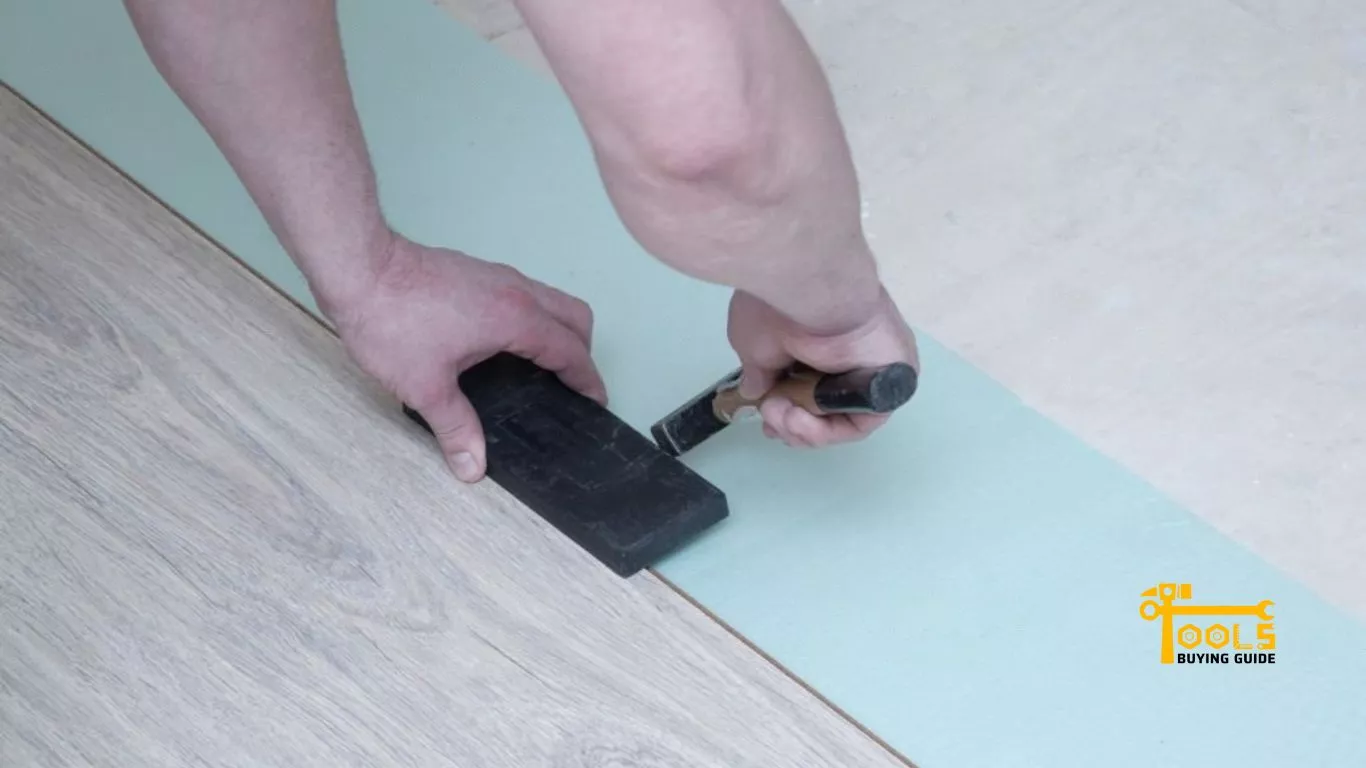
Continue laying out each plank until you reach the end of your wall. If any need cutting to fit, use a utility knife to cut them to the desired size. When you’re done, use adhesive or nails to secure each plank in place.
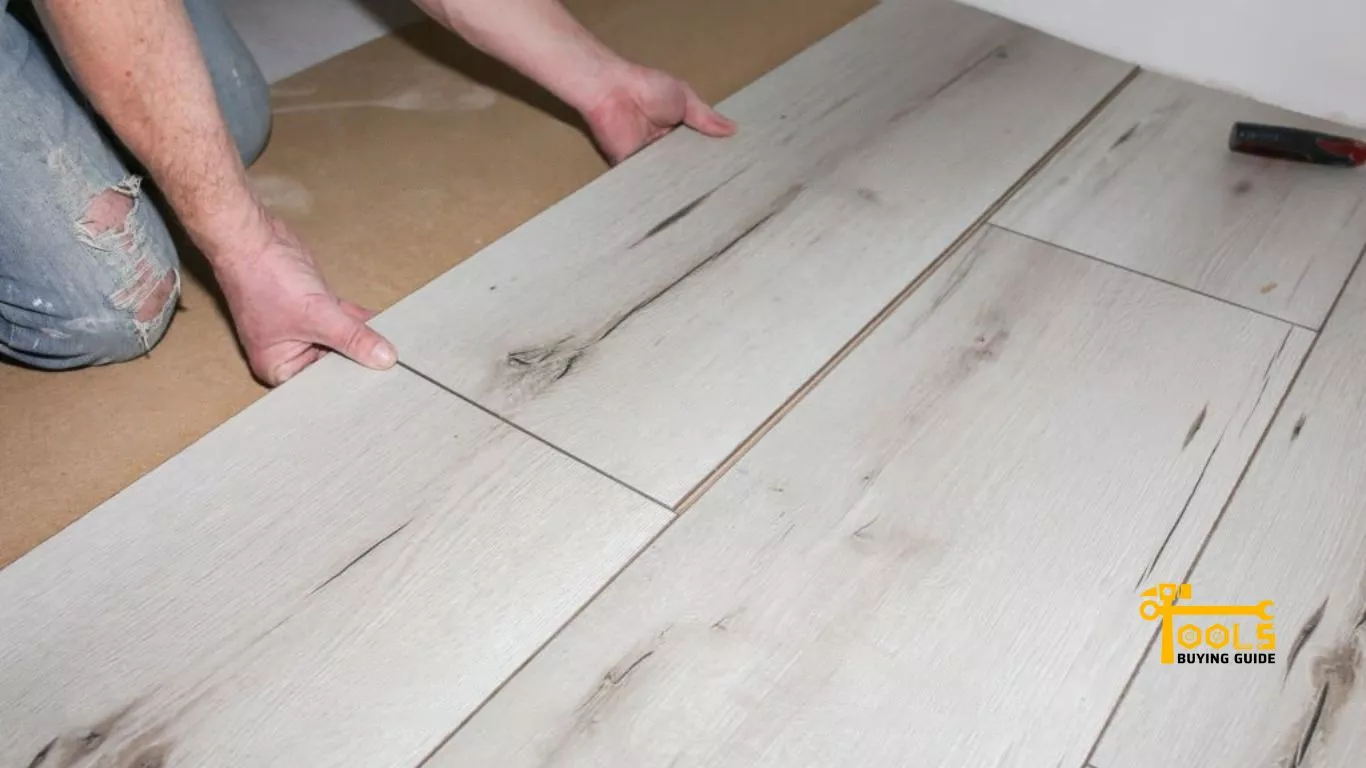
Step 3: Stagger subsequent rows of plank flooring
Now that you’ve completed your first row, it’s time to start an echo chainsaw. Make sure to stagger each row of planks so the seams don’t line up. This will ensure a stronger and more polished flooring stagger pattern.
Start by placing spacers between the two rows of planks, and then lay down the second row. Line it up so its edge is in line with the spacers, then secure each plank with adhesive or nails. Continue this process until you reach the end of your wall.
Step 4: Secure each row of vinyl plank flooring
Once you’ve completed your second row, it’s time to start on the third one. Again, remember to stagger the planks so the seams don’t line up. Once you’ve laid down all the planks in the third row, use adhesive or nails to secure them.
Continue this process for each row of planks until you reach the end of your wall. When you’re done, go over the entire floor with a spirit level to ensure it is even. If there are any dips or bumps, use a self-leveler to smooth out the surface before continuing.
Finishing Touches and Maintenance Tips
Once you’ve completed the installation, it’s time for the finishing touches.
Installing trim, molding, and threshold pieces
Trim, molding, and threshold pieces can give your floor a more polished look. They are available in various styles and colors, so you can choose something that will match your vinyl plank flooring pattern.
To install these pieces, start by measuring where they’ll go and then cutting them to size with a saw or utility knife. Use adhesive to secure them, and then use a hammer or mallet to ensure they are firmly secured.
Caring for vinyl plank flooring
Vinyl plank flooring is generally easy to care for and maintain. Regular sweeping with a broom will help remove dirt, dust, or debris from the surface. Also, mop the floor periodically with a damp cloth or mop.
Make sure to avoid using harsh cleaning products, such as bleach or ammonia. These can damage vinyl flooring stagger patterns and cause fading or discoloration over time. Instead, use mild soap and water or a specially formulated cleaner for vinyl plank flooring.
Future maintenance and replacement
Vinyl plank flooring is designed to last many years if properly cared for. However, the planks may eventually wear down or become damaged due to everyday wear and tear. If this happens, consider replacing them with new planks.
When removing old planks, do not damage the subfloor beneath. You may need a hammer and chisel to remove any stubborn nails or adhesive left behind. Once you’ve removed the old planks, you can begin installing the new ones.
Frequently Asked Questions
You could always try using duct tape; that should do the trick. Just make sure to measure carefully and apply it evenly. You can even get creative and make fun patterns with different tape colors.
You can expect visible lines, bowed boards, and a generally uneven installation. Your flooring won’t look how it should, and you might even end up with seams that don’t fit together properly. On the plus side, your installation will be unique!
A laser level and measuring tape are the best ways to ensure a straight install. Start with one end of the room, use the laser level, and measure from that point in both directions. That will ensure that your planks are even and level.
Yes, it does! Vinyl planks are constructed to expand and contract with humidity so they won’t crack or buckle. It’s important to leave a small gap between the walls and your flooring so that it has room to move in either direction.
The planks usually take 24–48 hours to settle into place after installation. Ensure you leave the planks untouched during that time, as any movement can cause them to shift out of place. Once they’re settled, you can start to enjoy your new floor.
Conclusion
Staggering vinyl plank flooring can be an art form. With some patience and practice, you can stagger your vinyl planks like a pro. This is a great way to add texture and interest to your floor while keeping it smooth and attractive. To truly master the art of how to stagger vinyl plank flooring, it pays to take your time and get creative.
Remember the key takeaways: keep it random, use spacers when needed, and maybe even have fun with it. With a little bit of experimentation, you’ll soon be able to create beautiful flooring that will last for years.