Do you want to master the art of threading? The repairs and maintenance of nuts and bolts take more finesse than you think. A tap-and-die set is the best way to ensure precision and accuracy when threading any material. But how to use a tap and die set?
These tools are not just for experts, so don’t be intimidated. You can quickly become an expert yourself with a little bit of patience and practice. In this guide, we’ll teach you the basics of using a tap-and-die set so that you can get to threading like a champ.
Understanding the Taps and what is it used for?
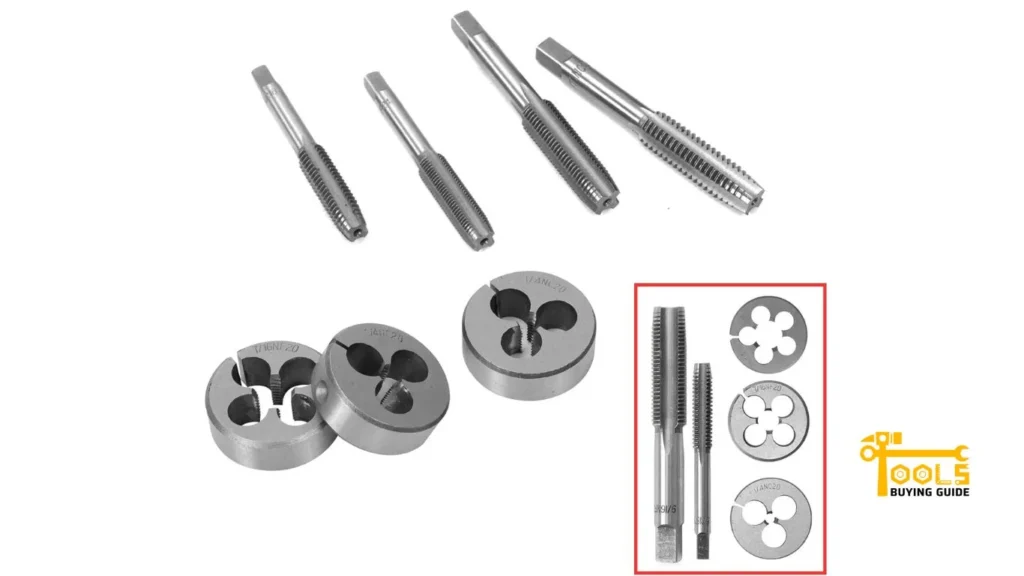
Taps are the tools used to create internal threads in a hole. They are often made of high-speed steel (HSS) or carbon steel to ensure a strong and durable cut. Tap sizes range from small 1/4″-diameter bits, all the way up to larger 3″ diameter bits. The number of threads cut per inch determines the tap size; the higher the threads, the smaller the diameter.
They are used to create threads in pre-drilled holes. This is essential in many manufacturing and repairs, from making a custom nut or bolt to repairing stripped threads. Taps are also used to repair damaged threads in existing holes. They are an essential tool for any machinist or DIYer that needs to work with nuts and bolts.
Types of taps
Now that you know what a tap is used for, it’s time to identify the different types of taps. There are three main types of taps: plug taps, second taps, and taper taps.
Plug Taps are the most common type of tap used. They are used for creating threads in a hole using a single pass. The shank of the plug tap is straight and uniform in diameter, allowing for an even cut.
Second Taps are used to repair often threads that have been previously damaged or stripped. They are designed with two flutes slightly different in diameter, allowing them to cut the threads at two distinct depths.
Finally, Taper are used for tapping threads in a hole. The shank of the tap is slightly larger than the cutting edges, which allows the tap to cut deeper into the hole gradually.
Read Also How To Measure A Turnbuckle
Understanding the Dies and What is it used for?
Dies are the tools used to create external threads on a rod. Just like taps, dies are made of hard steel to give them a long lifespan. Dies come in various sizes, ranging from tiny 1/4″ diameter bits to larger 3″ diameter bits. The number of threads per inch is determined by the size and shape of the die.
Using a die to create threads on a rod follows a similar process to using a tap. But while taps are used for cutting threads into the inside of a hole, dies are used to cut threads on the outside of a rod. This is essential for creating custom nuts or for repairing damaged threads. You can also use a die to add threads to the end of a rod for screws or bolts.
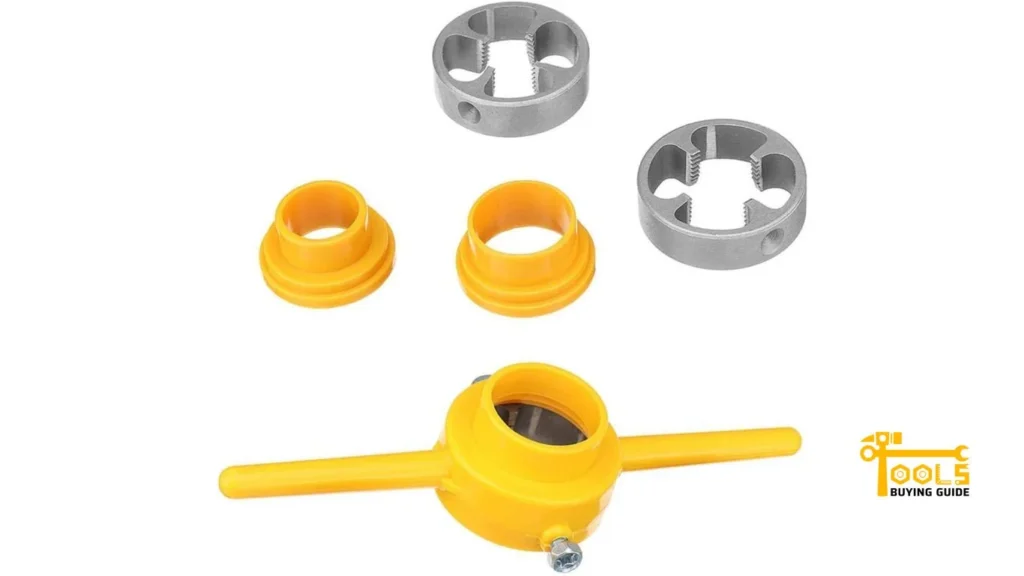
Types of dies
There are two main types of dies available – solid and adjustable.
Solid dies are the most common type of die used. They are formed with a single cutting edge on the end, then used to cut threads into the rod. The cutting edge of the die is sharp and uniform in size, allowing for a precise cut.
Adjustable dies are made with an adjustable cutting edge, allowing you to adjust the size of the threads. This is useful when you must create threads of different sizes or repair damaged threads.
How To Use a Tap?
Now that you understand the basics of taps and dies, it’s time to learn how to use tap and die set. Let’s start with taps.
Using a tap and die set is not as difficult as it may seem. You can quickly learn how to use your taps to create threads in any hole with a few simple steps.
Choose the right tap
The first step in using a tap is to choose the right size and type for your project. Consider the material you are threading into and the hole size you need to thread.
For instance, if you are threading into a soft material like aluminum, you may want to use a plug tap. But if you’re threading into a harder material like steel, you may need to use either a second or taper tap.
The tap size should match the size of the hole you are threading into. The smaller the hole, the smaller the tap you’ll need.
Mark and drill the hole
Once you’ve chosen the right tap, you’ll need to mark where you want to thread. Then use a drill bit to create the hole.
Mark the hole with a marker. Then insert the drill bit in your drill and lower it into the marked area. Slowly turn on the drill and let it work its magic. The diameter of the hole should be slightly wider than the tap you’re using.
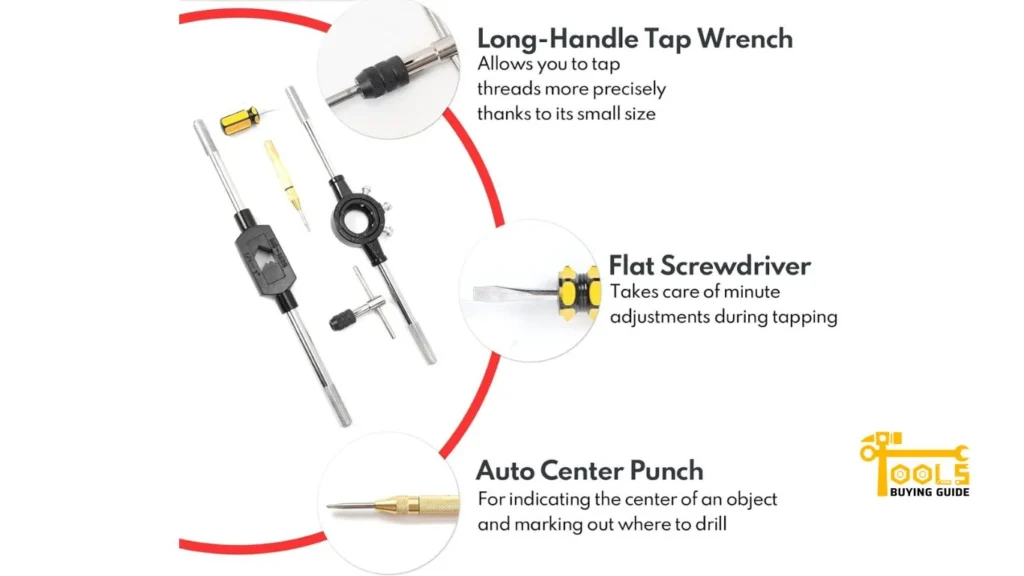
Securely mount your tap
Next, you must securely mount your tap so it doesn’t slip while threading. Most taps are designed with a taper shank that allows them to be mounted in a standard tap handle.
Put the tap into the handle and make sure it’s securely tightened. You don’t want your tap to slip while you’re threading!
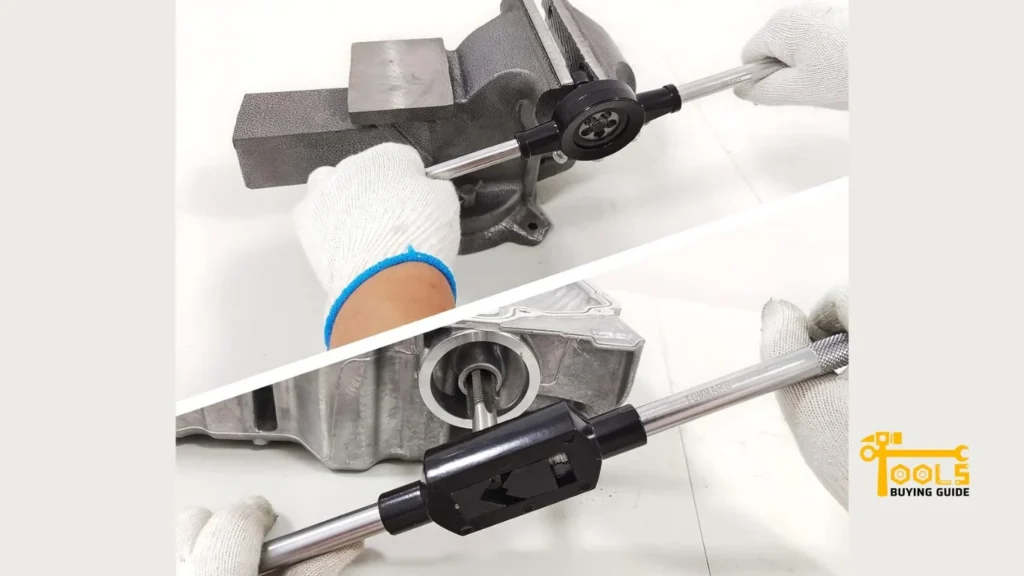
Turning the tap into the hole
Now that your tap is secured, you’re ready to start threading. Apply pressure on the handle and slowly turn it clockwise. As the tap moves through the hole, keep applying pressure and turning it clockwise until you reach your desired depth.
Removing the tap
Once you’ve reached your desired depth, carefully remove the tap. Slowly unscrew it from the hole and remove it from the handle.
If you’re satisfied with the results, you can use your newly-threaded hole. Otherwise, you can try again with a different tap or drills bit.
You may read also Best Pencils For Woodworking
How to Use a Die?
Using a die is similar to using a tap. The main difference is that you’re threading on the outside of a rod instead of the inside of a hole.
Prepare the rod
The first step is to ensure the rod you’re threading is clean and free from material buildup. Debris can interfere with the die’s cutting edge, so clean it thoroughly.
Secure the die
Once the rod is prepped, you need to attach the die to a die handle. The die should fit snugly into the handle and be securely tightened. This will ensure it doesn’t slip while you’re threading.
Turning the die into the rod
Now it’s time to make the threads. Apply pressure and turn the die into the rod while slowly backing off. You should do this in one continuous motion.
Removing and checking the threads
Once you’re done threading, remove the die from the rod. Have a look at the threads and make sure they meet your standards. If everything looks good, you’re all done.
Read Also How To Oil A Mini Chainsaw in 3 Easy Steps
Frequently Asked Questions
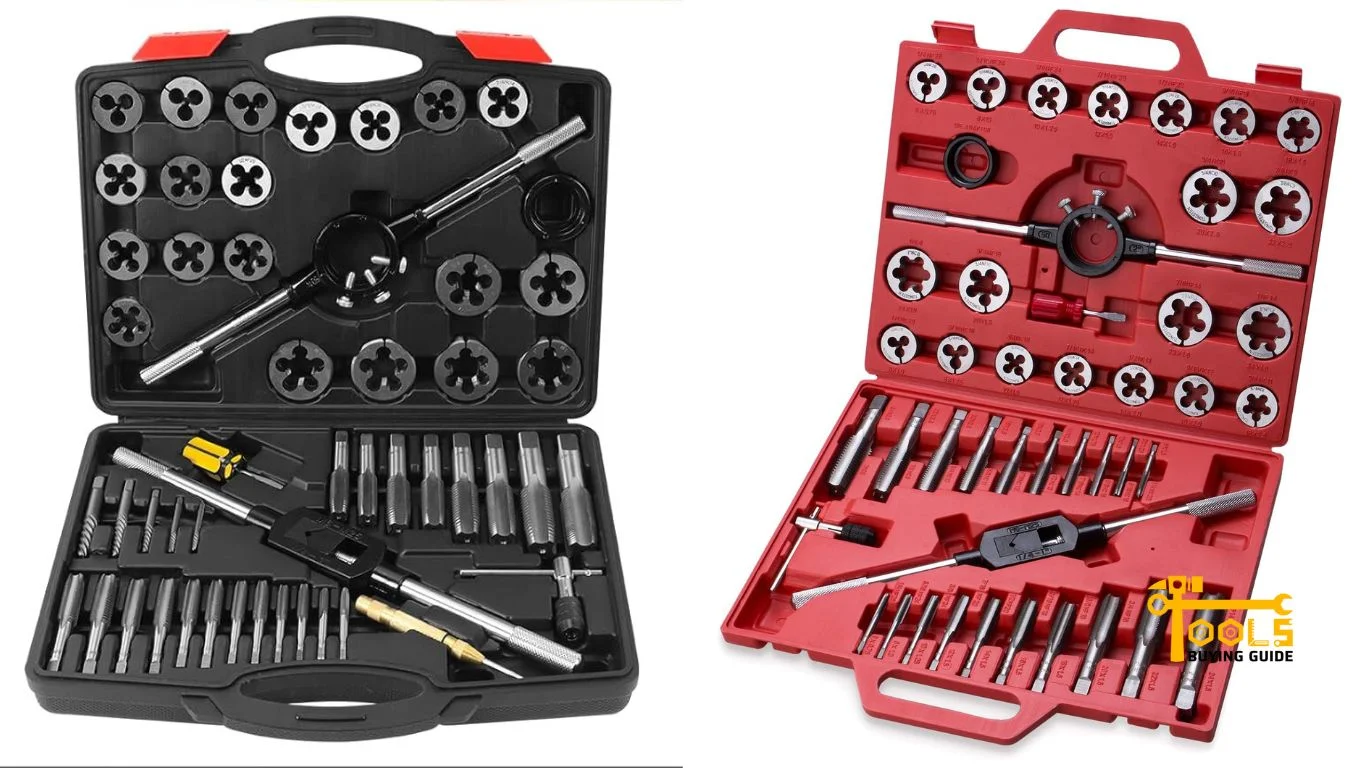
A tap-and-die set is a tool used to create threads in materials such as wood, plastic, and metal. This set is made up of two components: a tap, which cuts the threading into a hole in the material, and a die, which forms the thread on a rod or bolt.
Using a die on a bolt is simple: you start by placing the die onto the bolt, ensuring it’s properly aligned. Then you use a wrench or ratchet to turn the die in a clockwise motion. This will cut the threading into the bolt, allowing it to be securely fastened.
Tapping is the process of cutting threads into a material. To do this, you insert a tap into the hole and then turn it clockwise. The cutting edges of the tap will cut away material, creating threads in the hole. This process creates a thread for a bolt or screws to be set in.
A first tap, also known as a taper tap, is the initial tool for threading a hole. The longest lead of the taper tap is designed to create an internal thread quickly without overcutting or making the hole too big.
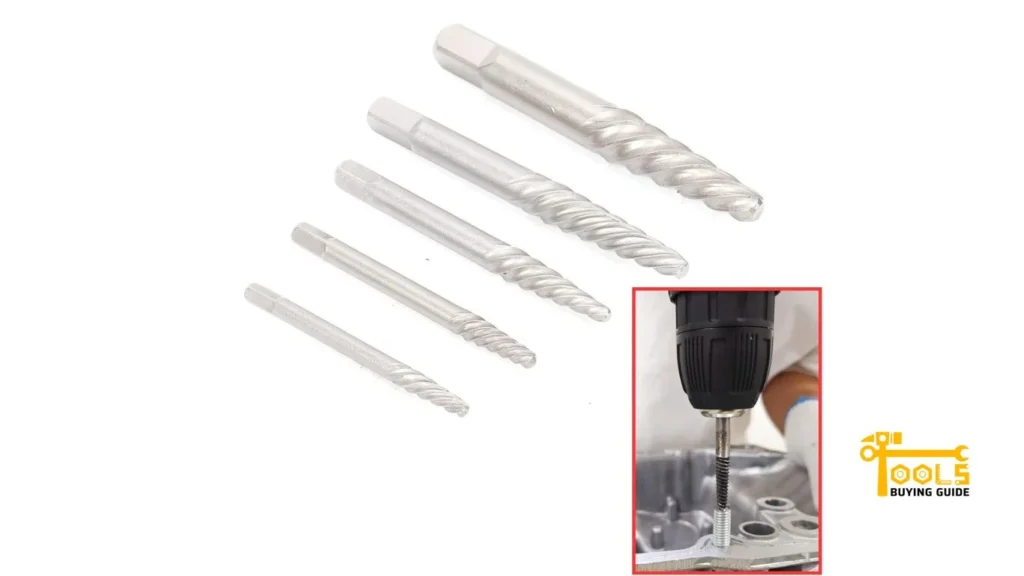
If a tap breaks while threading a hole, the best thing to do is remove the broken pieces with pliers and then clean out the hole. After that, use a larger tap to thread the hole. This will ensure the threads are properly formed and the hole is the correct size.
Conclusion
If you’re a DIYer who loves making things from scratch, having a tap and die set on hand is an absolute must. It’s a handy tool that will help you make repairs and expand your projects in ways you never thought possible.
With a little practice and the right set of tools, you can learn how to use a tap and die set like an expert. So, don’t wait any longer – get your tap and die set today and start creating like never before.