Are you looking to get through metal like a hot knife through warm butter? Metal drilling is an essential part of many DIY and professional projects. You may be building a machine from scratch, creating parts, or just making a hole in the wall. But no matter what you’re doing, you can learn how to drill through metal relatively easily.
This guide will provide you with the basics of metal drilling, from what you need and how to get started. With a few simple steps, you’ll be a master metal driller in no time. Just be sure to wear protective gear and take all necessary safety precautions.
Read Also How to Change a Drill Bit in Minutes
How to Drill Through Metal?
Now that you know the basics, let’s dive into how to start drilling through metal.
Preparing the metal
Selecting a drill bit for the job
To drill through metal successfully, you’ll need the right drill bit.
High-speed steel drill bits, black oxide drill bits, titanium nitride-coated drill bits, cobalt, and carbide-tipped drill bits are all great options.
A standard twist bit will work for most applications. But if you’re dealing with a harder material like stainless steel, you may need to look for a bit specifically designed for the job.
For example, carbide-tipped drill bits are good for drill in steel and other metals. They will last longer and are more accurate than standard twist bits. You can use a standard twist if drilling through softer metals like aluminum, brass, or copper.
When selecting a drill bit for the job, consider the thickness and hardness of the metal you’re working with. The bit’s diameter will depend on the hole size you need to make.
Marking the metal for drilling
Once you’ve selected and purchased the right drill bit, you must mark the metal for drilling. This ensures the hole is where you want it and helps avoid mistakes or accidents.
Use a marker or pen to outline the hole you want to make. This will help you stay on track and reduce any risks of drilling the wrong spot. You can also use a scribe or center punch to make an indentation in the metal, which will help the drill bit stay in place while drilling.
Use a ruler or measuring tape to ensure the hole is in the right place for accuracy. If you’re drilling multiple holes, making a template to keep things organized can be helpful.
Using pre-drilling techniques to ensure accuracy
Once the metal is marked and measured, it’s time to prep the area for drilling.
A hammer can tap the area where you want your hole lightly. This will help ensure the drill bit doesn’t slip while drilling. Applying a light lubricant, such as WD-40 or oil, can also help reduce friction and keep the drill bit from overheating.
If you’re dealing with a larger metal, you may want to consider clamping the metal in place. This will help ensure it stays steady while drilling and prevent slipping or accidents.
These pre-drilling techniques are critical for getting an accurate hole and avoiding mistakes or mishaps. With a little effort, you can easily ensure your drill holes are exactly where you want them to be.
And with that, you’re ready to start drilling! Now head on over to the next step and get started.
you may read also How to Repair Torn Drywall Paper
Drilling into metal
Now that your metal is ready, it’s time to start drilling on metal. This section discusses the steps you need to take to drill metal.
Setting the drill speed and pressure
The speed and pressure of your drill are key components for successfully drilling metal. If your drills for metal are too slow, they won’t get through the metal properly. If it’s too fast, it can cause the drill bit to overheat and even break.
To determine the right speed, refer to your drill’s user manual. It should have specific instructions on the best speed and pressure settings for different materials.
Lower speeds will do the trick for softer metals like aluminum or brass. You may need to increase the speed and pressure for harder metals like steel or iron.
If you’re unsure what settings to use, start with a slow speed and gradually increase until you find the right setting for your material. It’s also important to keep an eye on the drill bit as it’s rotating so that you can make any necessary adjustments.
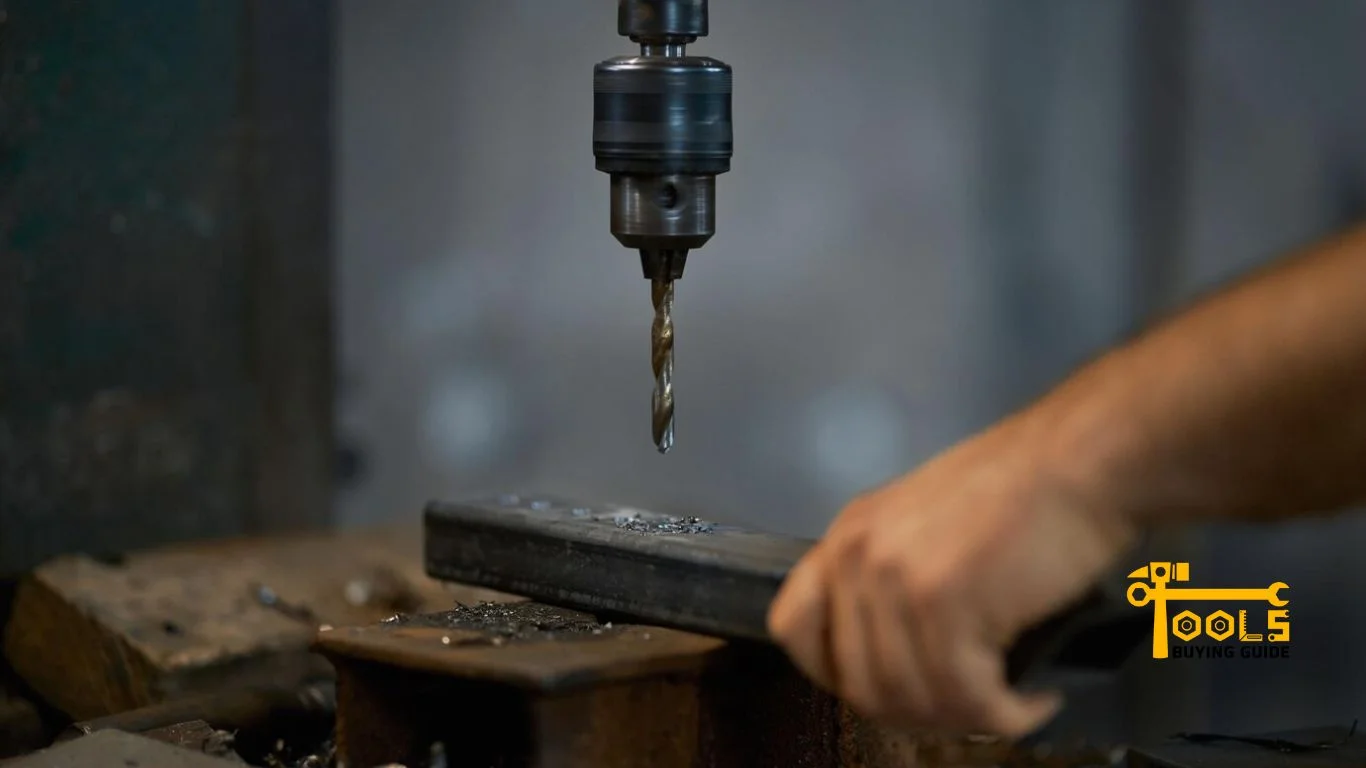
Initiating the drilling process
Once you’ve set the correct speed and pressure, it’s time to start drilling. Ensure your drill bit is properly aligned with where you want the hole to be. You can use a center punch or scribe to help ensure accuracy.
Start by pushing down slowly and steadily on your drill bit. As it penetrates the metal, increase the pressure slightly until it has cut through.
Be sure to keep the drill bit straight and steady while drilling.
If you’re using a standard twist bit, it’s important to periodically pull the bit out of the hole to clear any debris or chips that may have built up. This will help ensure that your hole is clean and accurate.
Monitoring progress and making adjustments as needed
As you’re drilling, it’s important to monitor your progress and make any necessary adjustments.
If the drill bit starts to wander or slip off course, stop immediately and adjust the position of the bit. It’s also a good idea to periodically check that there are no burrs or chips on the outside of the hole. These can cause dangerous problems if unchecked and interfere with proper drilling.
It’s also a good idea to use a lubricant, like WD-40 or oil while drilling. This will help reduce friction and heat build-up from the drill bit, which can damage or ruin your material.
Finishing Up
Once you’ve finished drilling, it’s time to do a little cleanup.
Removing chips and burrs from the drilled hole
Chips and burrs are inevitable when you drill on metal. To remove them, use a flathead screwdriver or chisel to scrape them off the sides gently. You may also want to use a file or stone wheel to smooth out any rough edges. This will help ensure a clean hole and prevent any sharp pieces of metal from causing injury.
Cleaning up any grease or debris left behind from drilling
Finally, cleaning up any grease or debris left behind from drilling is important. This can be done with a rag and some warm, soapy water. Be sure to use a mild soap that won’t damage the metal.
Frequently Asked Questions
A normal drill can do the job, but metal is harder than other materials and will require more effort. To ensure your drilling process goes smoothly, select a drill bit designed specifically for metal and lube up your drill bit with oil before starting.
No, a screw drill is designed to create threads in wood or plastic, not metal. For drilling into metal, you’ll need a standard power drill equipped with a proper drill bit for the job. Then, set the drill speed and pressure accordingly, and you’re ready to go۔
Most metal drill bits have a black coating that helps reduce friction when drilling. If you’re unsure, look for the words ‘high-speed steel’ (HSS) on the packaging; this is a common indicator of a drill bit intended for metalwork.
To ensure accuracy, use pre-drilling techniques such as hammering and clamping the metal. When you’re ready to begin drilling, set the drill speed and pressure accordingly for your material thickness. As always, monitor the progress of your drill bit and make adjustments if needed. Finally, remove any chips or burrs from the drilled hole once you’re done.
A sheet metal screw is designed to penetrate thin metal sheets and is the most common type of screw for working with metal. However, if you’re dealing with thicker materials, a self-tapping or tapping screw will be required.
Conclusion
Drilling through metal doesn’t have to be as hard as it sounds. This guide on how to drill through metal has helped give you a better understanding of the process.
All that’s needed is the right tools and techniques, and you’ll be on your way to making all of your drilling dreams come true. You could be impressing everyone with your handy DIY skills in no time. But if it’s too much for you, just remember: a professional can always take care of it for you.